


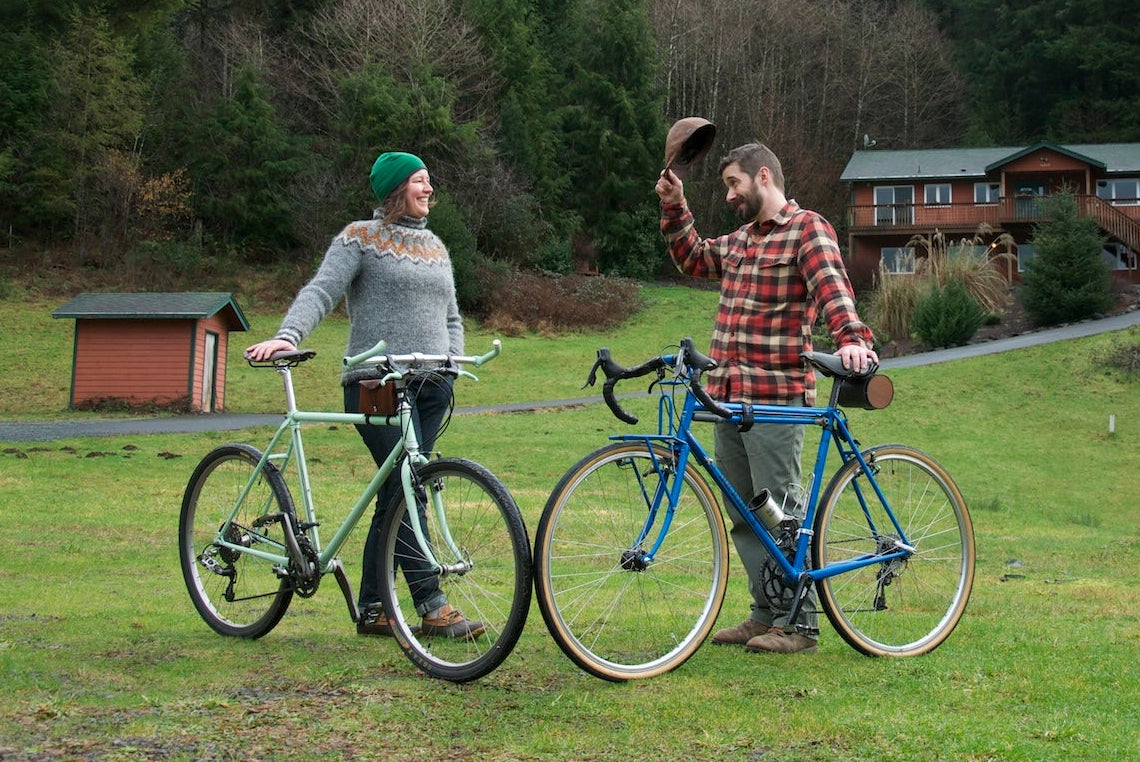


We love to hear when our clever customers find a new way to use our products. One satisfied customer, Tom in New Jersey, sent us an alternate way to sew on the City Grips that he found easier:
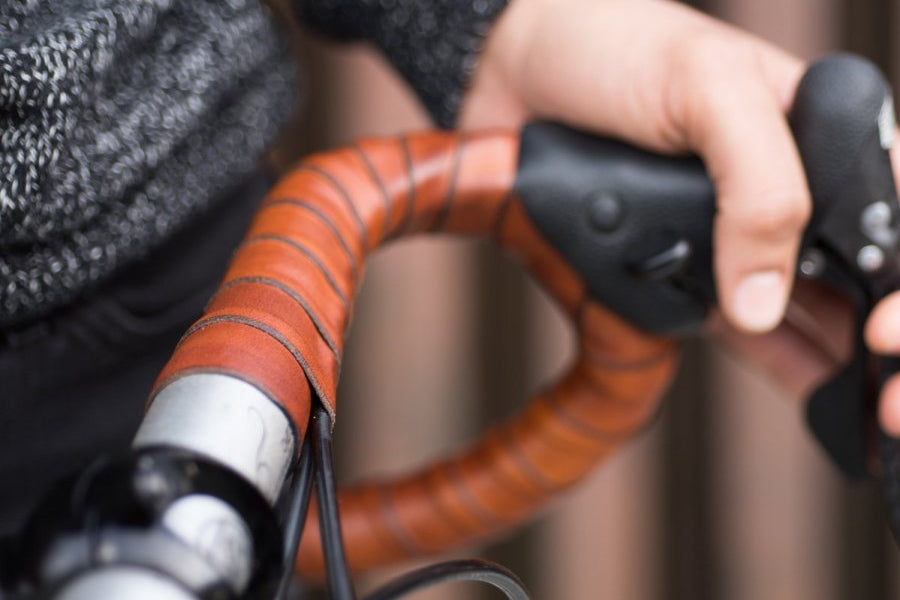
I finally finished my bike build, which means I've installed the city grips and...
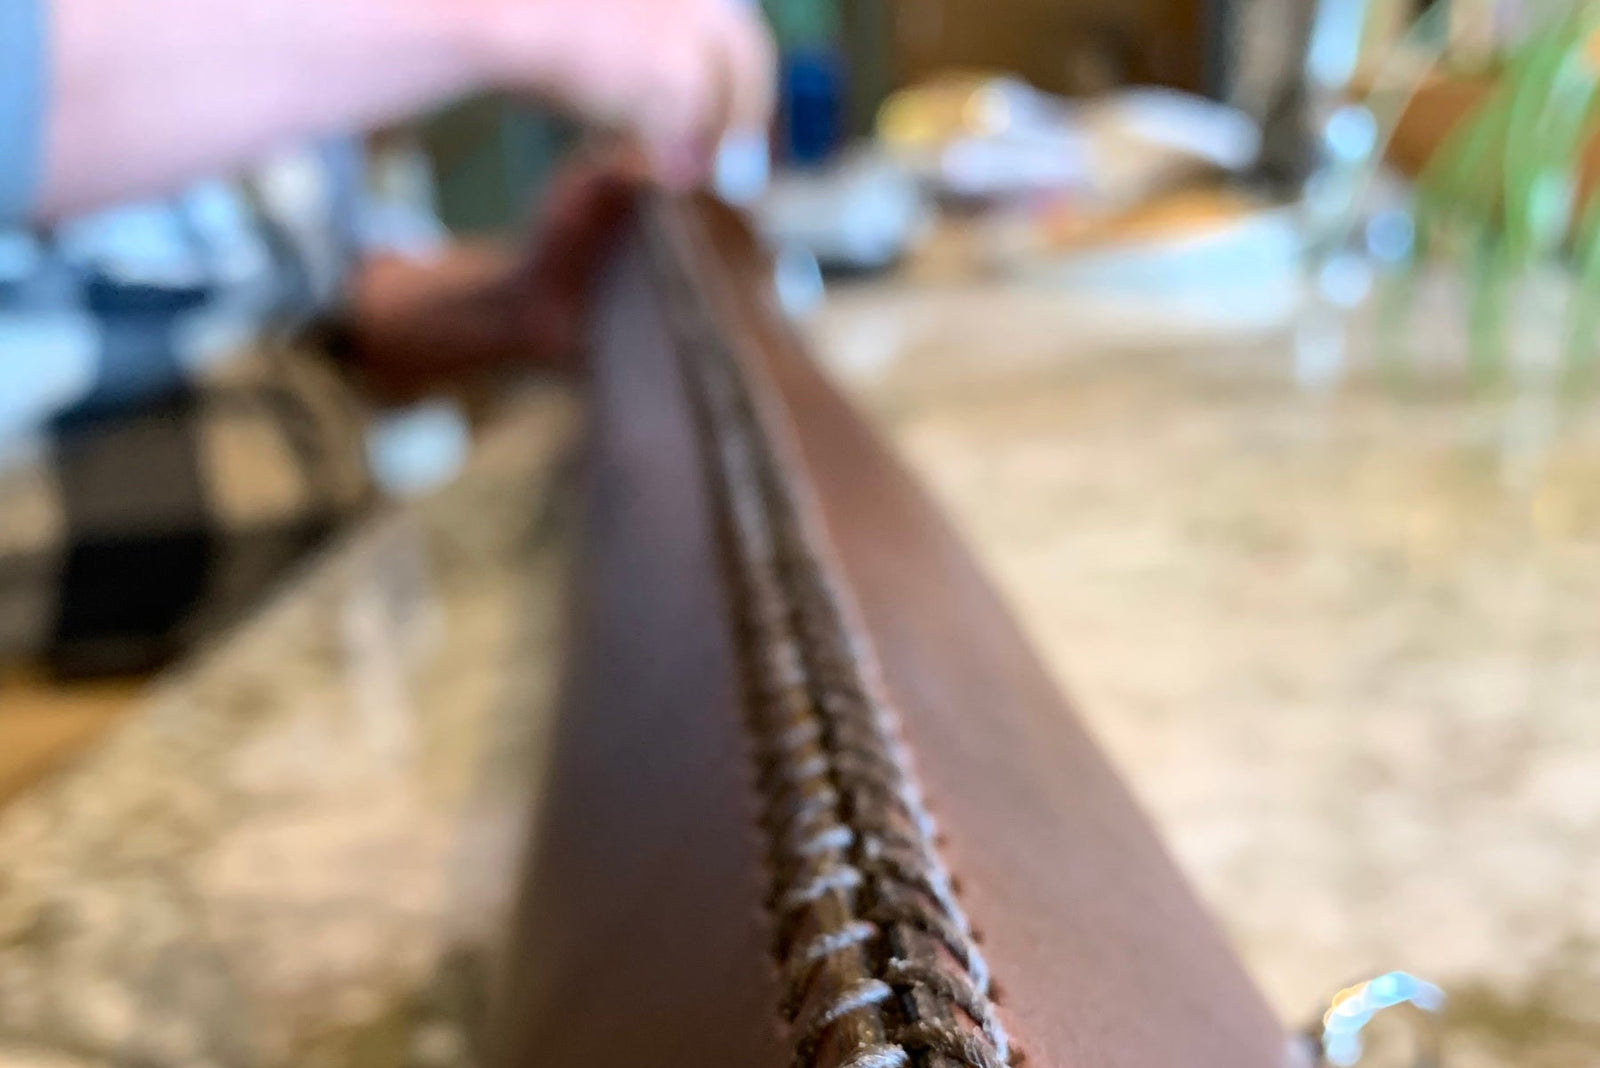
THE GRIPS TURNED OUT GREAT! I LOVE THEM!
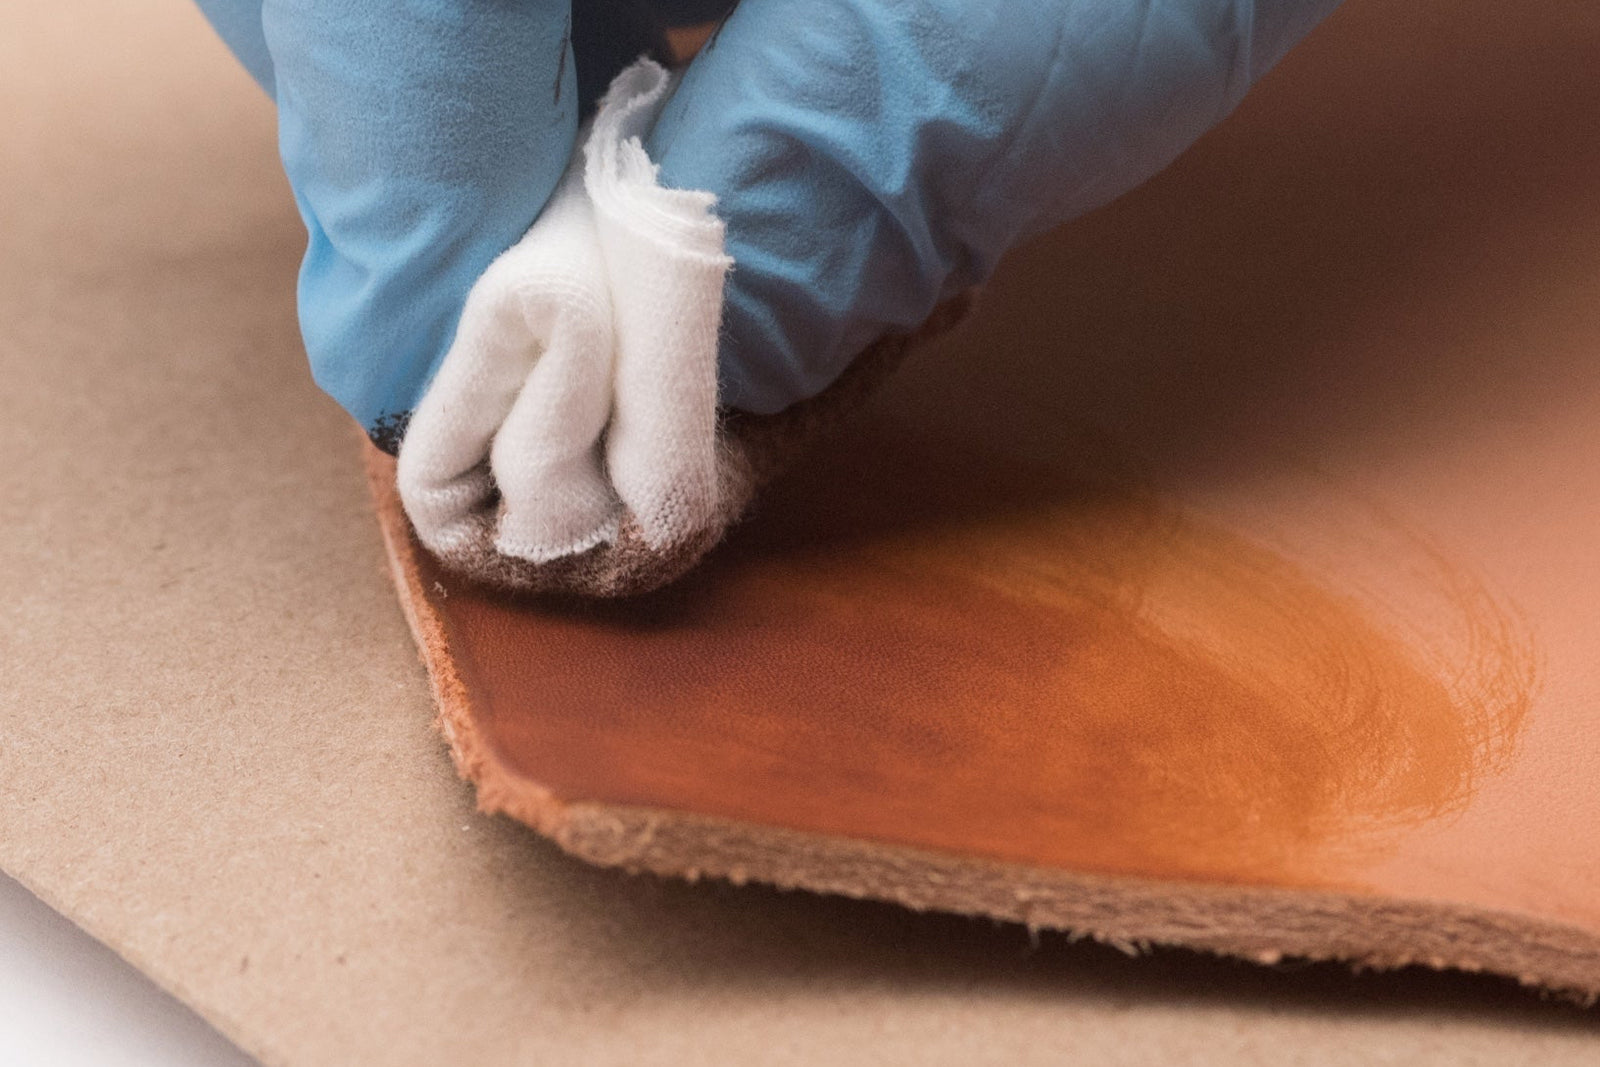
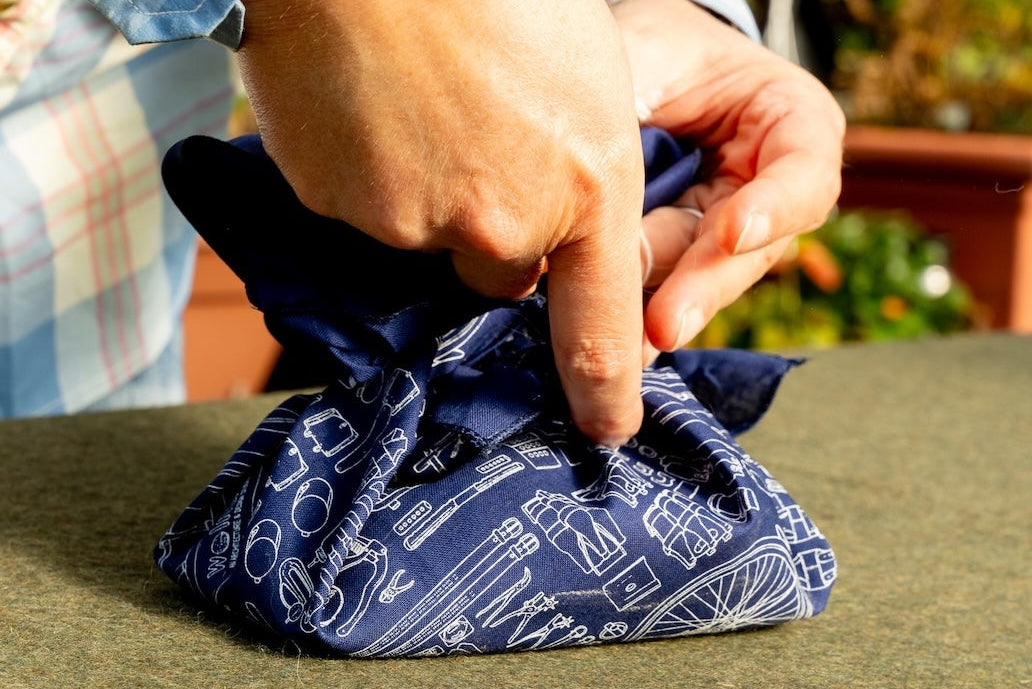
I did the process a bit differently though. After thoroughly soaking the leather, I chose to perform the stitching out of the handlebar. The handlebar kept getting in the way of the needle and I was always concerned with keeping the grip in the correct position.
I kept the stitches loose of course then I just slipped it on to the handlebar. Before tightening the stitches, I could then slide the grip in or out and twist it up or down to the position I want it to be. The adhesive will not have set them in place yet.You mentioned stitching. Because of the way I did it, I felt emboldened to try the glove stitch instead of the simpler whip stitch. It really was easier stitching out of the handlebar. With the leather well soaked (over 2 hours), I wasn't worried at all that it would dry up on me. When I slipped it on the handlebar, it was still well compliant and easy to handle.
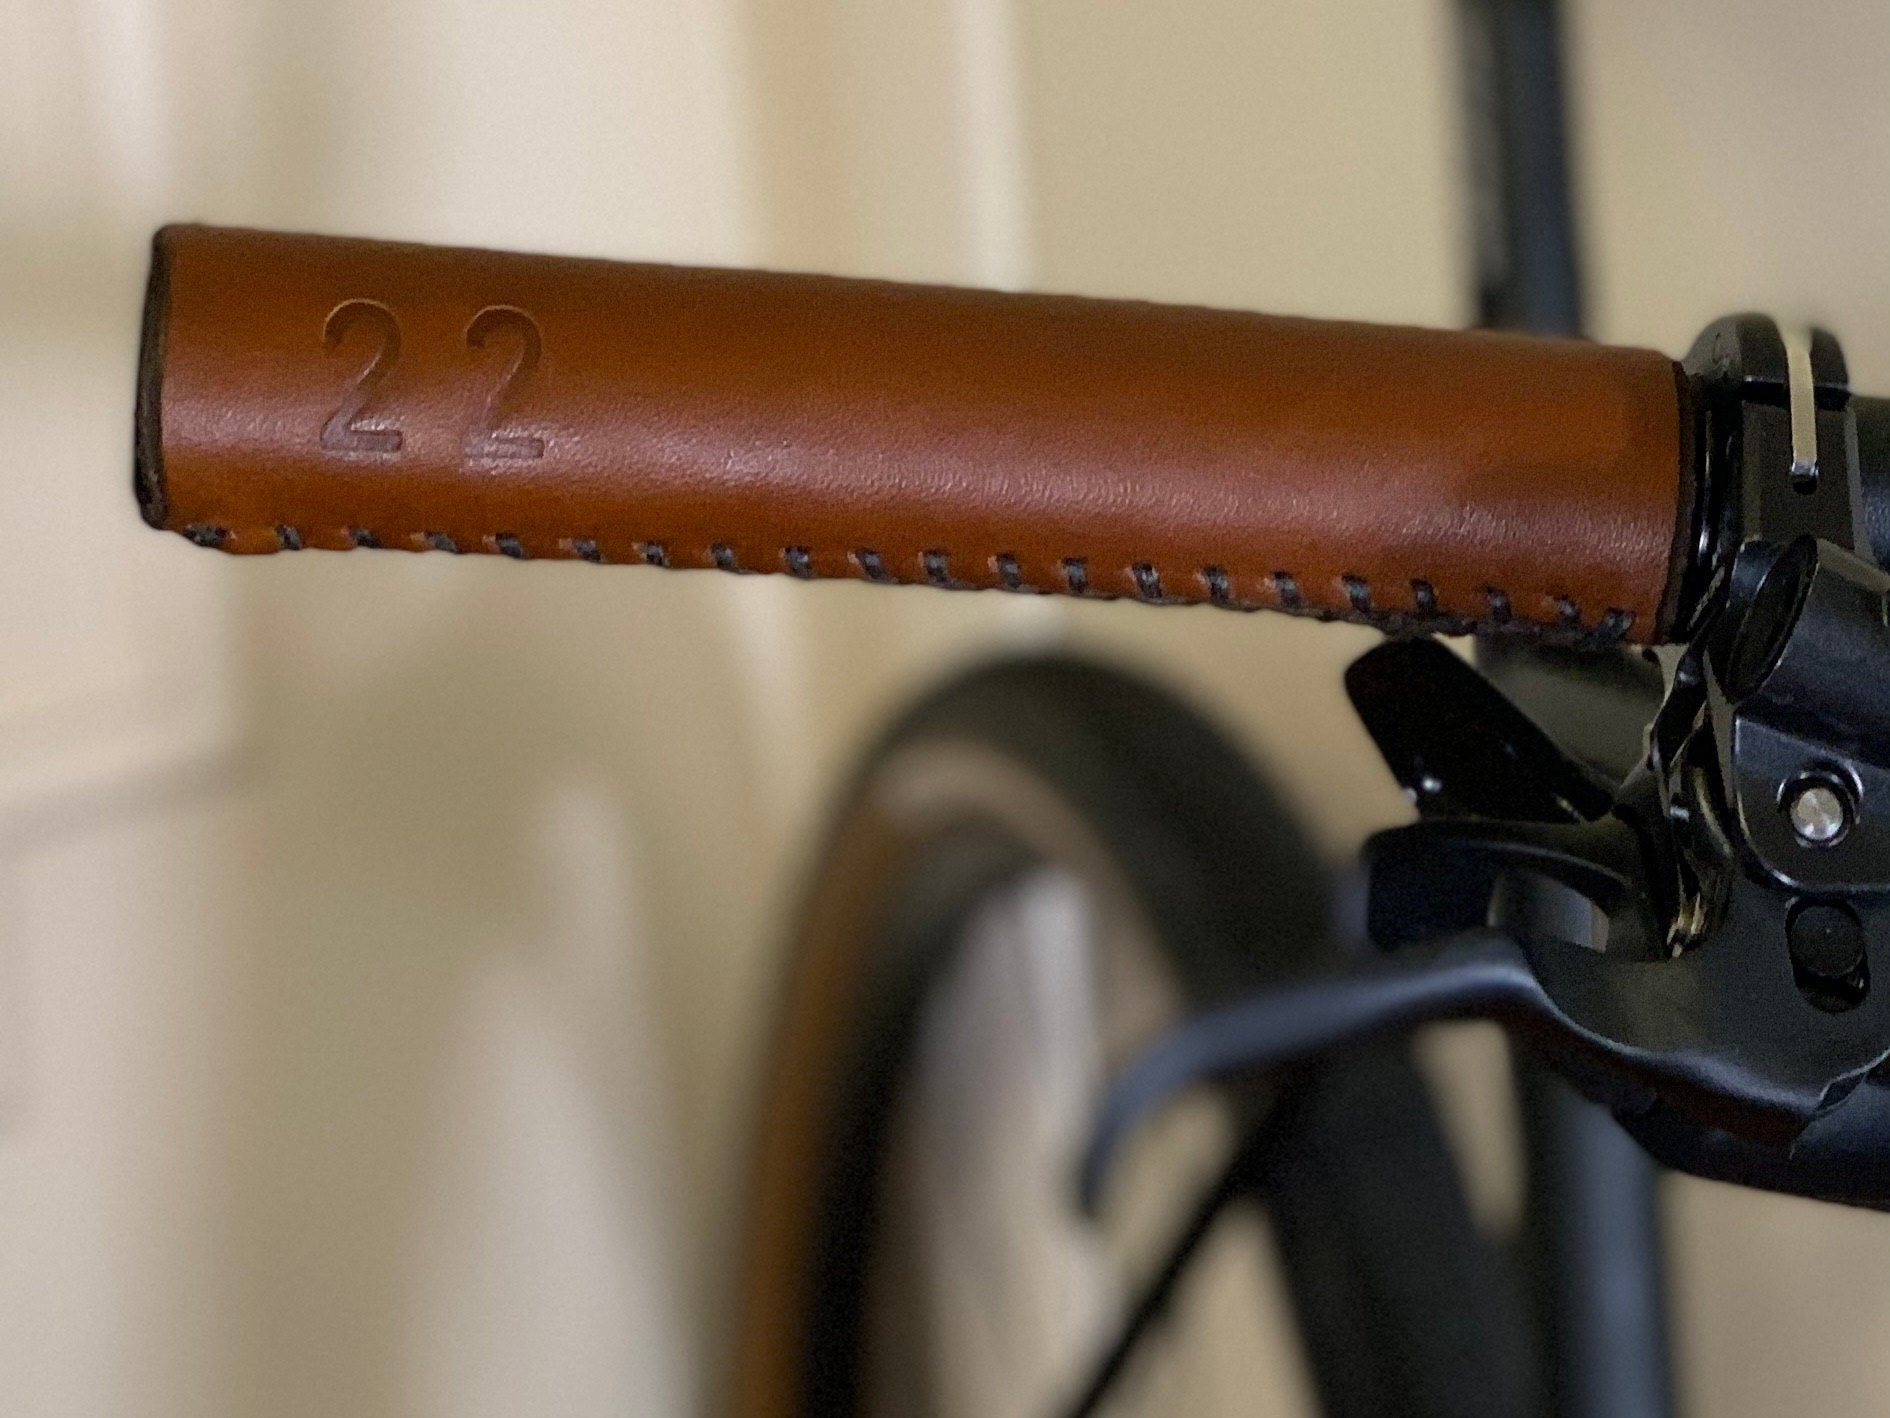
Thank you, again, for such a wonderful product. The "22" monogram ended up exactly where I envisioned it to be, in line with the "walnut" on the opposite end.

We haven't tried this ourselves yet, and we'd love to hear what you think.
Here's a small video Tom made to demonstrate how he did it:


Kevin
May 08, 2025
Yes! I did something similar. Laced up the bar wraps in my lap sitting on the patio listening to music.
I was planning to use inversed brake levers, and the cables ran all the way to the end of the Velo Orange Porteur handlebars. You just slide the bar wraps on after loosely lacing them and then I positioned the seam/lace to run along the bottom with the cables to conceal them inside the bar wrap. I then used a metal hook type pick to tighten the thread. Then, with the three miles long of thread left over just neatly wrapped it about an inch on the ends and tied off. This was 12-13 yrs. ago. The bars wraps still look great!