


Enjoy a virtual peek inside our workshop as we explain the basics of how we make things out of American, vegetable-tanned leather in our Oregon Coast workshop.
Jump to Section
How We Make Things: Leathercrafting Steps
Hide delivery
We buy our vegetable-tanned American leather hides direct from the fourth-generation tannery in Missouri. The hides arrive stacked on a pallet and wrapped in two layers of stiff, thick paper.
Here, Geoff is carrying a hide to a spare bedroom in our home for longer-term storage because there is more temperature and humidity control in the home.
'American' means the tanning process follows more stringent US environmental laws, and 'vegetable-tanned' means there are no industrial chemicals involved like chromium or mercury, just old fashioned tannins usually derived from tree bark.

Hide inspection and storage
Whole hides get unwrapped and visually inspected for quality.
Each is then rolled up and moved into a light-controlled cabinet in the workshop to make into small product batches as needed for short-term storage in the workshop.
Geoff selects hides for the right product based on a number of factors, including hide thickness, placement of natural scars/mars, and overall hide color and pattern.

Lay out and cut templates around imperfections
Templates are carefully laid out and marked to make maximally efficient use of the most excellent leather. Templates are traced with a pencil and cut by hand with an exacto blade.
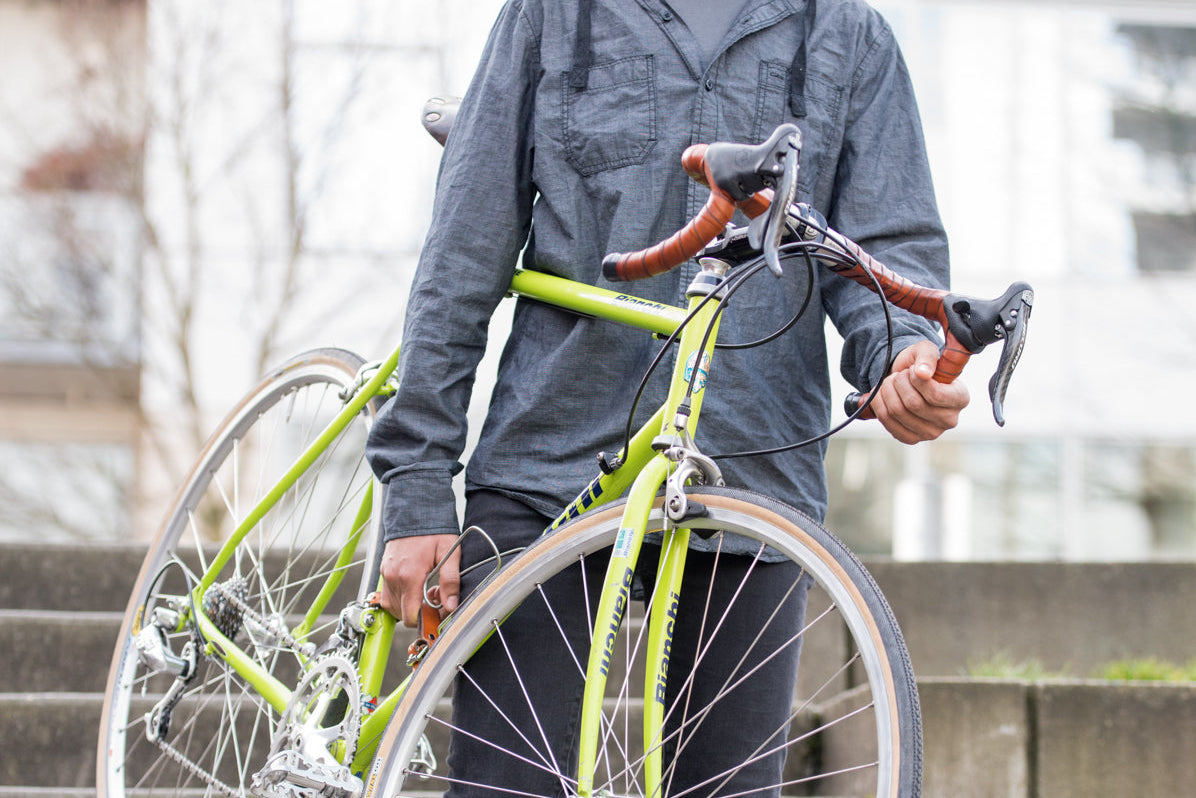
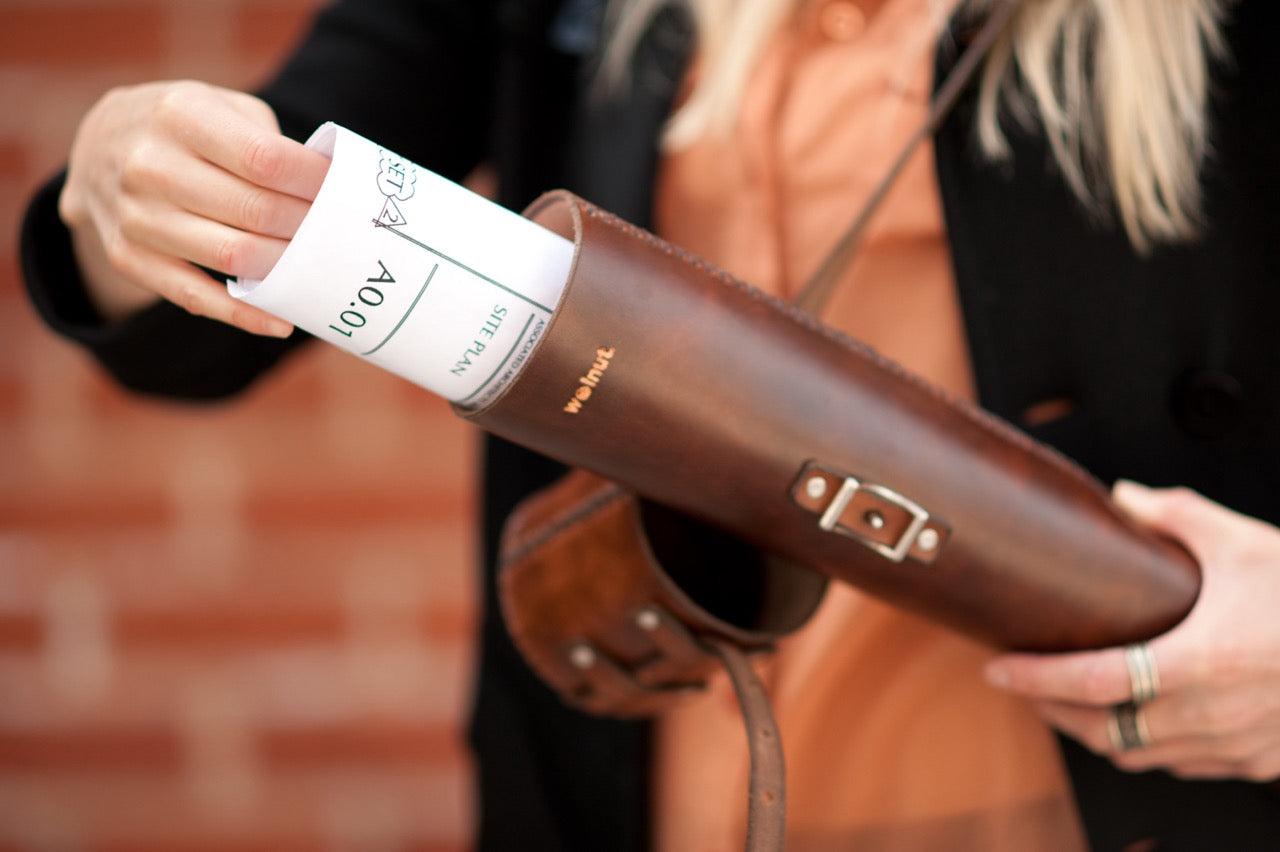
Larger products like the Blueprint Tube shown here have to get carefully placed on the only the highest quality hides to strategically avoid natural flaws and imperfections in the leather.

Cut straight edges
Smaller, strap-based products are cut out of the hide by first, cutting off the rough edges of the hide to create a straight line.
This is done with a metal ruler and an old-fashioned exacto blade on a very large self-healing mat.
(TIP: Don't do it like this! Unlike in this photo, Geoff usually keeps his thumb out of the way during cutting!)

Cut straps
Straps are the most efficient way to use a hide with as little waste as possible. Many of our products are based on a configuration of straps.
For those products, we use a "draw knife" or strap-cutter to cut the now-straight-edged hide into straps.
Individual strap templates, such as for handles with hardware holes, are then later placed along the strap and traced with a pencil.

Soften edges
The cut edges are now softened by "beveling" them, which is cutting off material at an approximately 45 degree angle on both sides.
He does this using the tool shown at left called an "edger."
TIP: Don't try this at home! Geoff nicknamed this tool "the shark bite" because of how it feels when it hits your finger!

Deboss logo
Geoff says, "I take pride in my work, and putting my logo on it is my way of signing my work."
Our products come standard with the Walnut logo, which we deboss (make an imprint) into the leather prior to dyeing by depressing the leather with a mallet and a brass stamp.
We try to make each item with a color-contrast logo that shows the natural leather below, which is a sign of the handmade nature of the item. Only a hand brushing the dye over the deboss with a rag can leave the debossed area underneath natural-colored. It is a sign of our Walnut hand-crafted quality.

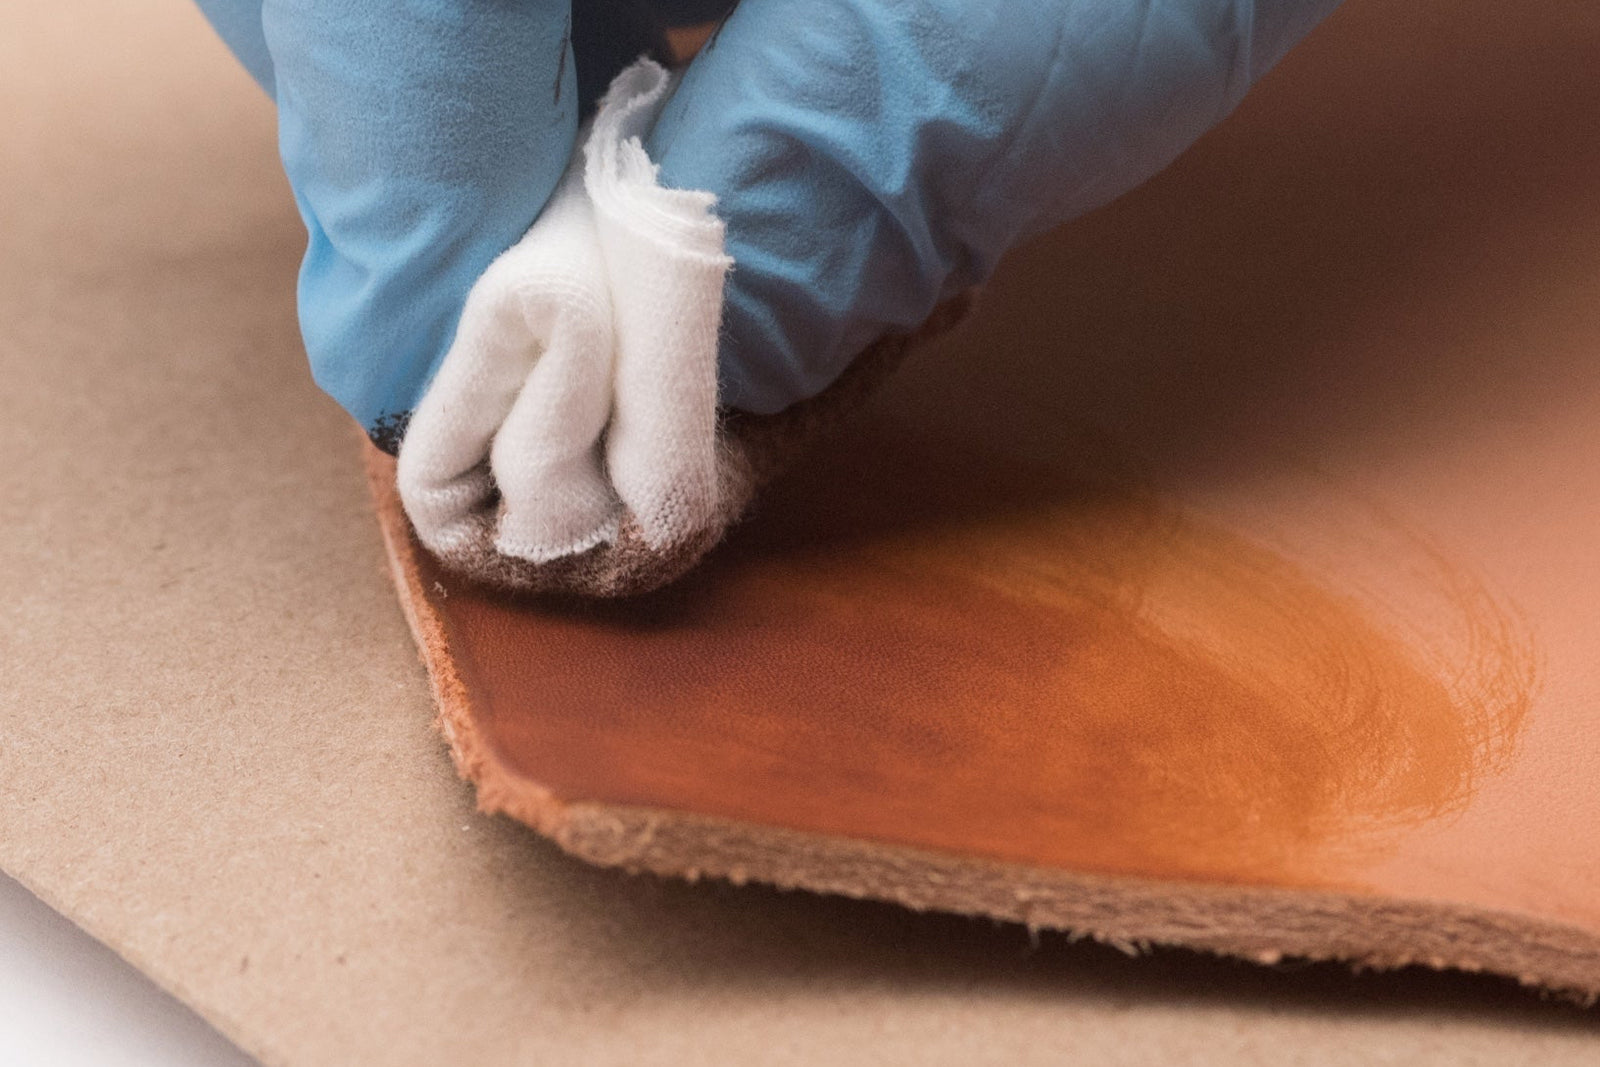
Oil dye and gloss
For our leather colors, we hand rub in natural oil dyes using a rag, followed by two coats of gloss that seals in the color.
The dye goes on dark and then lightens as it dries: as you can see in this photo, the middle strap had already dried while the strap being dyed looks much darker. They will both be the same color when fully dried.
In the foreground is the natural leather color of the strap before dyeing. The natural leather color itself varies a bit from hide to hide, which is why it takes the dye slightly differently and can create a little bit of natural color variation. We liken this to staining wood instead of painting it, allowing the natural grain to shine through.

Interlude: drying time
After each coat of dye and gloss, the leather needs to dry for one day (or overnight), giving us a three-day production time interlude for all products.
In this photo, a batch of Whiskey Cases is drying after a second coat of gloss.

Punch hardware holes
The next step is to add the design details required for finishing: holes for installing hardware, stitch holes to facilitate hand-stitching, etc.
In this photo, Geoff is using a vintage hole punch to create rivet and screw holes in a Barrel Bag

Install hardware
Hardware is often pre-installed prior to final assembly.
This is different for every design, but it can mean riveting together pieces with a tubular rivet press, installing a special closure or snap, attaching a buckle, or attaching on a button stud.

Treat the edges
The remaining exposed edges of a piece get one more treatment with the application of edge dye and a coating of wax that is melted onto the edge (which is called "burnishing').

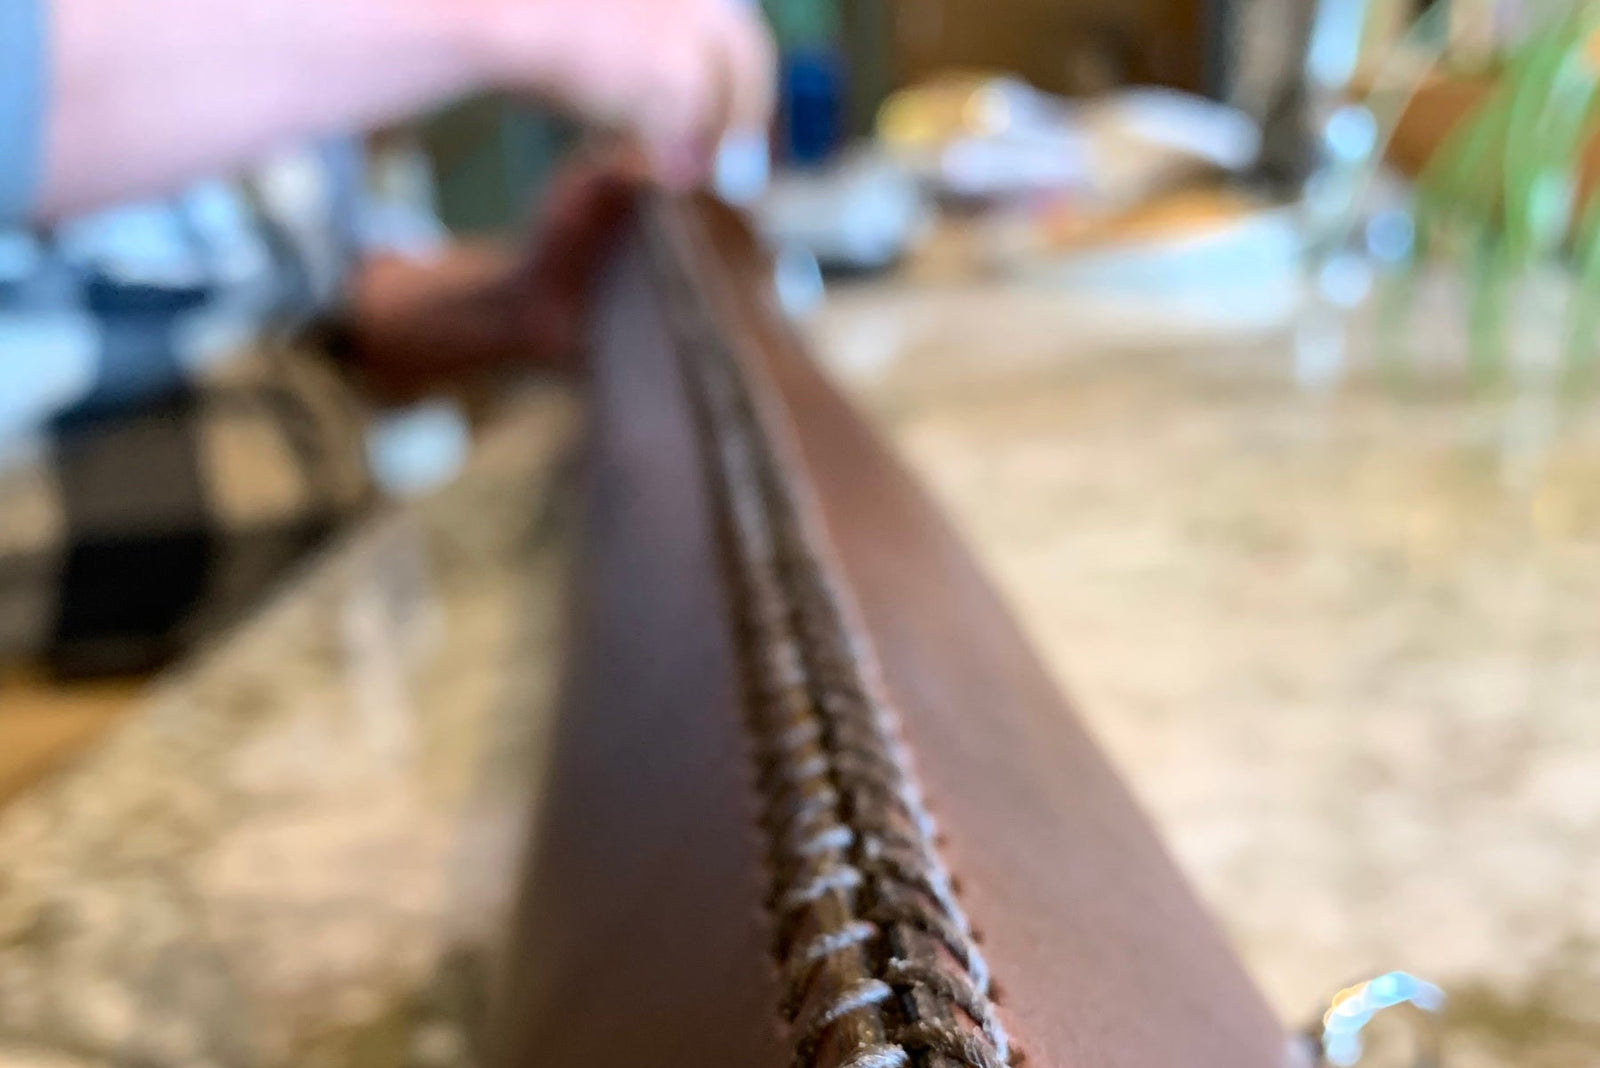
Hand stitching
Not every Walnut design is hand-stitched, but as Geoff says, "Every hand-stitched item Walnut has ever sent out has been hand-stitched by me."
He continued, "For about 2 hours every night, I'll put on an old movie that I don't have to watch too closely and hand-stitch inventory. Kittens can make it a little more difficult!"
Large items are stitched directly on the lap/table, and small items like the Leather Lighter Case use the stitching horse shown here to hold the item tight while stitching, like a 3rd hand.

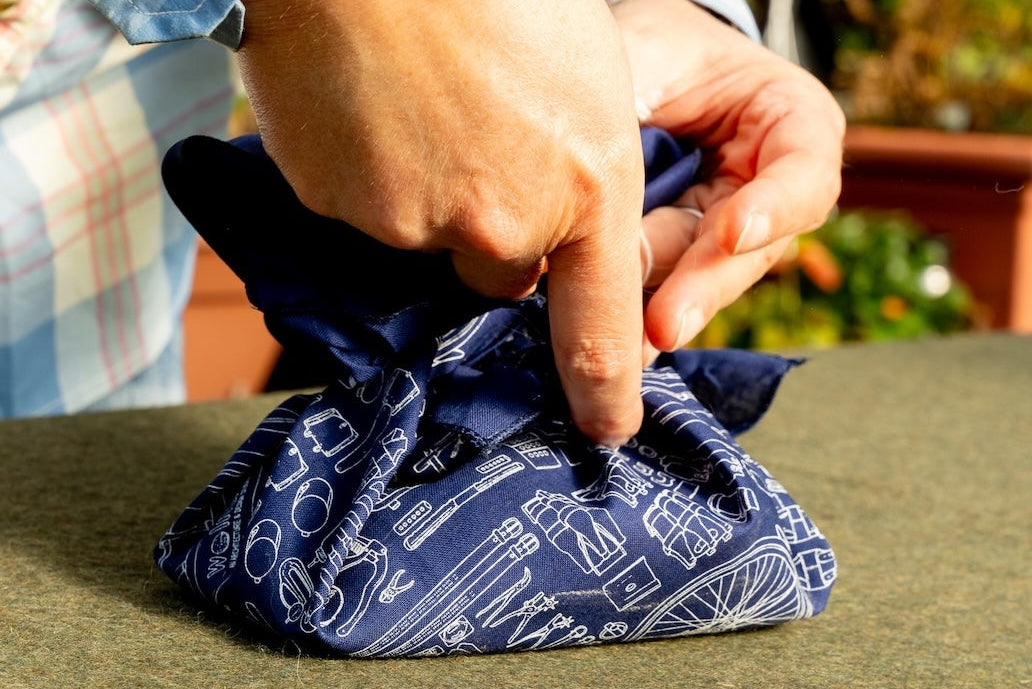
Final assembly
At last, the final touches are put together for inventory and sale. Sometimes additional hardware or accessories are added.
Geoff pays attention to every detail, even making sure during final assembly of this Barrel Bag that the Phillips heads of the screws are aligned to the same torque for an organized, neat look and structural strength.

What Happens Next?
Inventory and QC
Finished products gets moved to the inventory area, where it gets a QC inspection while being stocked into organized inventory bins.
Each bin is marked on the outside with the quantity using wipe board markers on upcycled vinyl scraps from a sign company.

Fulfillment In-house
We do fulfillment and shipping in-house.
Orders are printed on our hand drawn receipt paper, matched with the right products from the inventory boxes, and neatly stacked in a bin for shipping.
Each item gets a second QC inspection when it's pulled out of inventory to fulfill individual orders.

Optional Monogramming Step
We offer monogramming on many of our leather products, and most get monogrammed the day they're shipped. We deboss monogram letters into the leather just like we do with our logo: with brass stamps and a mallet.
Monogramming fees cover not only the labor time in actually monogramming, but also the cost of ruining a product at this point with a monogramming mistake, which Geoff only lets happen rarely. (Those flawed-but-functional treasures get put into our annual AS-IS/Dents & Dings Sale box!)

Shipping
Each order gets wrapped up with the receipt and non-plastic packaging, weighed, and registered with the shipping carrier, which is usually the US Postal Service. Carriers pick up packages directly from our workshop.
Our shipping program sends an automatic email to customers with the tracking number, and the long journey of becoming a product is now on its way to becoming a treasured possession by customers all around the world

Last Words
It's a privilege and a joy to make things for our customers. Thank you for reading our photo essay on how we make!
TIP: If you liked this photo essay, you'll also love the short film about us by filmmakers Cineastas PDX, "What Handmade Means"


Leave a comment (all fields required)