


UPDATED AUGUST 22, 2025
We'll draw on what we've learned about leather in Lessons #1-8 when going into the thrift shop assessing the quality of a leather piece. Forearmed with this knowledge, you can guess at the source, split, tannage, finishes, and leather quality to decide whether your find is a dud or a gem. It's all about the details.
In this lesson, we'll show where to find clues on each piece (the surface, the back side, the edges, the stitching) and list some Red Flags to help you decide when you're in the store.
Leather Learning Series
This post is part of our "Leather 101" educational series. We're sharing everything we know about our favorite material!

Jump to Section
What to Look For: Signs of Leather Quality
When assessing vintage quality in the store, you're drawing on the lessons we've reviewed so far: identifying the source, split, tannage, and finishes, and judging their suitability for the product use and function.
Is it the right leather for the right job?
Here's a short run-down of design details that will help you quickly determine if a piece is using the right quality leather -- or not.
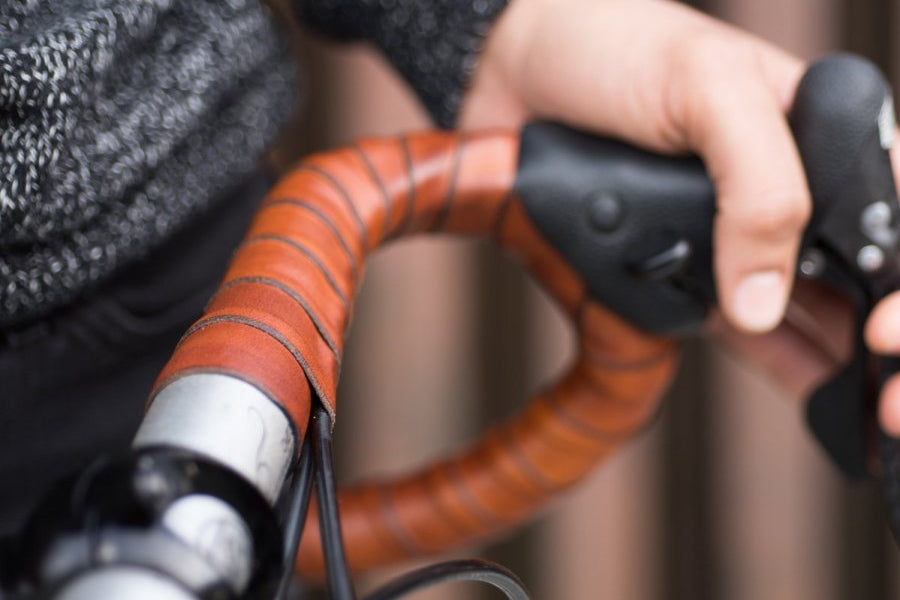
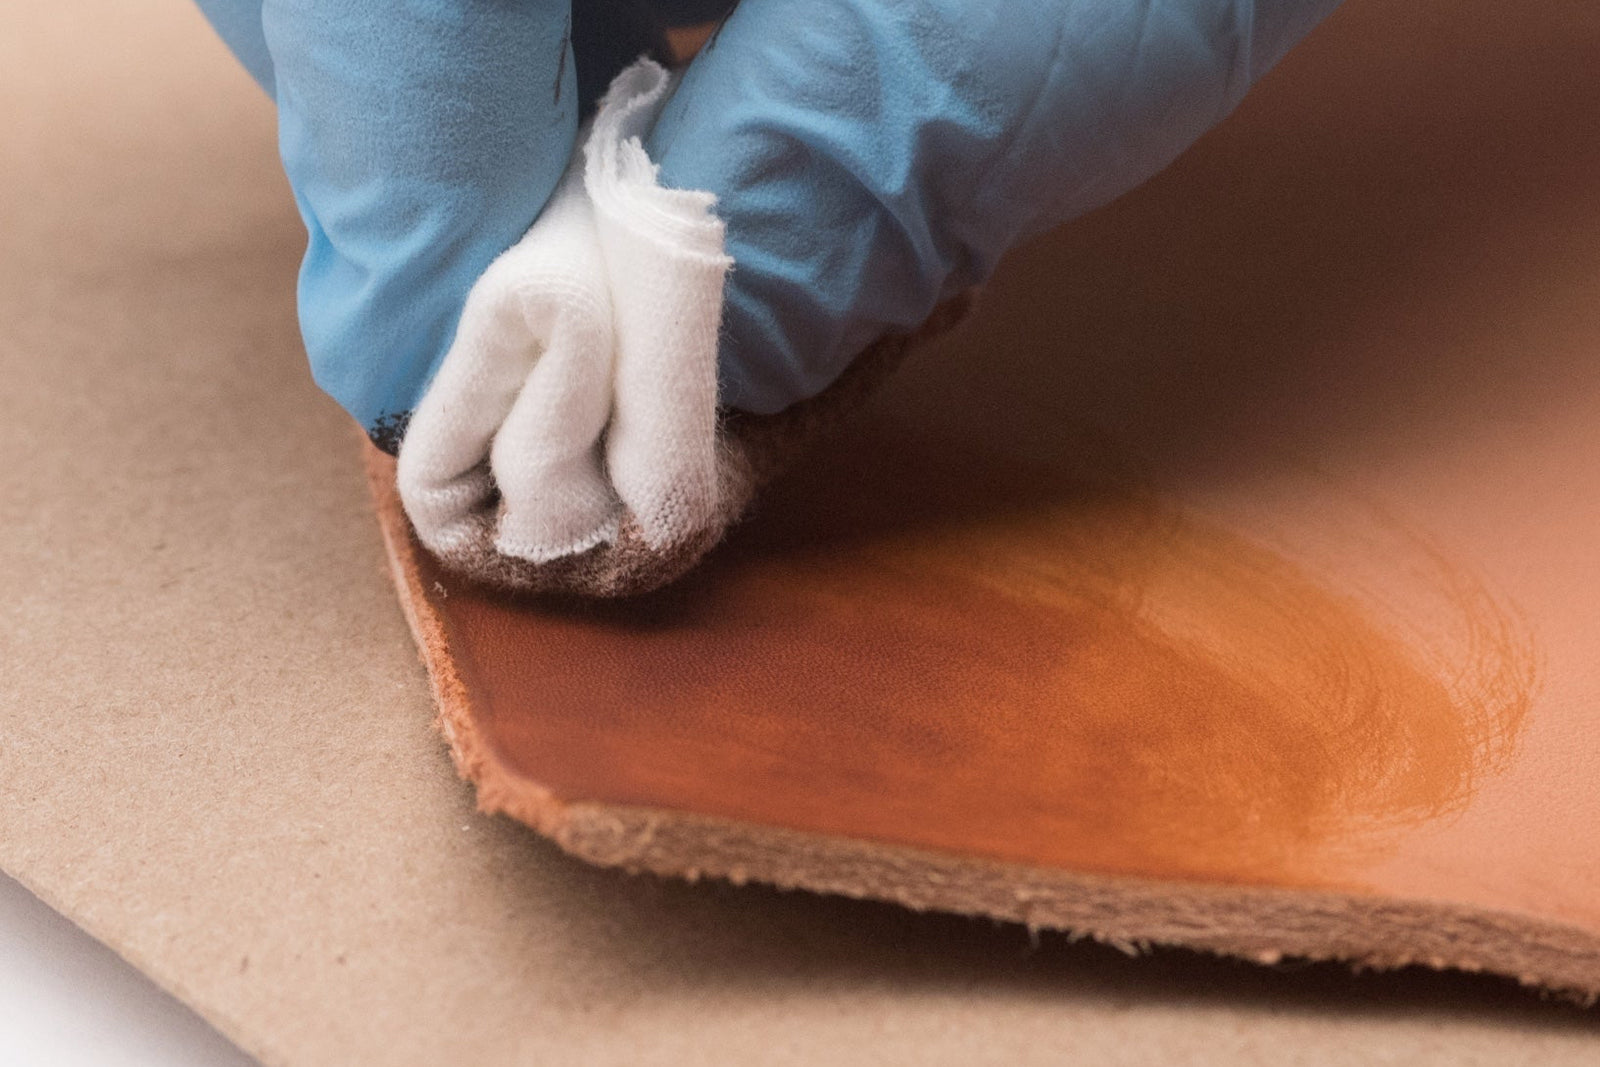
- Luster. Does the color look like a wood stain over a natural surface texture, or is it uniform like a paint? Hand-dyed vegetable-tanned leather has a natural luster. If it has a matte, paint-like finish, it was pigmented or dyed at the tannery. It could be vegetable-tanned bridle leather or it could be mineral-tanned leather.
- Color. Unnatural color tones usually indicate mineral-tanned leather, such as bright colors or white. If it is it a natural color, like shades of brown or black that is not necessarily an indicator of its tannage. In rare circumstances, such as intricately-tooled leather, unnatural colors may be acrylic paint rather than dye.
- Texture. Is the surface smooth to the touch or pebbly (see photos below)? If it's smooth and soft, it's likely vegetable-tanned leather. If it's smooth and sticky or plasticky, it's likely bonded leather or pleather. If it's pebbly, it is most likely top grain leather (although it could be an inferior leather stamped with a pebble pattern, look for Red Flags below).
- Reverse Surface. If you can see the back side: is it the exact same color and surface as the front or is it rough and napped? If so, it may be bridle leather. Hand-dyed leather is easily identified by having natural, undyed leather on the backside or underside - although sometimes the back is dyed too.


What to Look For: Craftsmanship Quality
Edges
Old-timers say you can tell the quality of a piece by its edges. We think of the edges of leather like trimwork in a house, except that the leather edges are meant to be regularly handled and touched. They should be beautiful, tactile, and durable.
Here's what to look for:
- Edge Cut. Were the edges cut straight? That is, were they cut at a straight 90-angle? This is the first sign of skipped steps. Quality leatherworkers round the edges with a beveler. Just like a kitchen countertop, the edges get beveled at 45 degree angles on both sides so the edge is "bullnosed." This rounded edge is much more tactile and visually appealing, just like rounded crown molding is more visually appealing in a room.
- Edge Color. Are the edges a homogenous color, or perhaps a darker color than the surface of the piece? This is a sign that the leathercrafter took time to make the edges look finished by edge dyeing. If you can see the natural leather color sandwiched between the dyed surfaces, then walk away. This is a clear sign of a lack of attention to detail. This of course only applies to the outer edges of a piece. It may be impractical to dye the cut surfaces inside hardware holes, for example, but we'll talk about those more in a minute.
- Edge Sheen. Are the edged burnished? This is a step that most manufacturers skip, and a tradition that we are proud to keep alive. Burnishing melts waxes into the edges for durability and a long life by sealing the edges and smoothing the rough nap. Burnished edges have a waxy, glossy sheen.
- Edge Stitching. Edge stitching is is unnecessary for quality leather, so stitching is either decorative or it's hiding layers of poor quality leather.

Photo credit: Erin Berzel for DK Publishing

Assembly: Stitching and Hardware
Quality hardware and leather stitching carries extra importance in the durability of the product.
Hardware is a separate topic altogether, but can be treated for tarnish similar to any other vintage metal goods, such as using Brasso. (How to Restore Shine to Brass Hardware Parts >>>) Look for details like symmetrical and evenly-spaced rivets or screws.
If the item is stitched: quality stitching can make-or-break the piece. When crafting leather goods, the placement of stitch holes is un-doable! When stitching fabric with a machine, the needle can pierce through the weave without leaving an indelible mark, but in leather once the hole is punched you can't un-punch it.
Stitching can also be the weakest spot of a leather product, so it's important that it's done right, and with good quality thread.
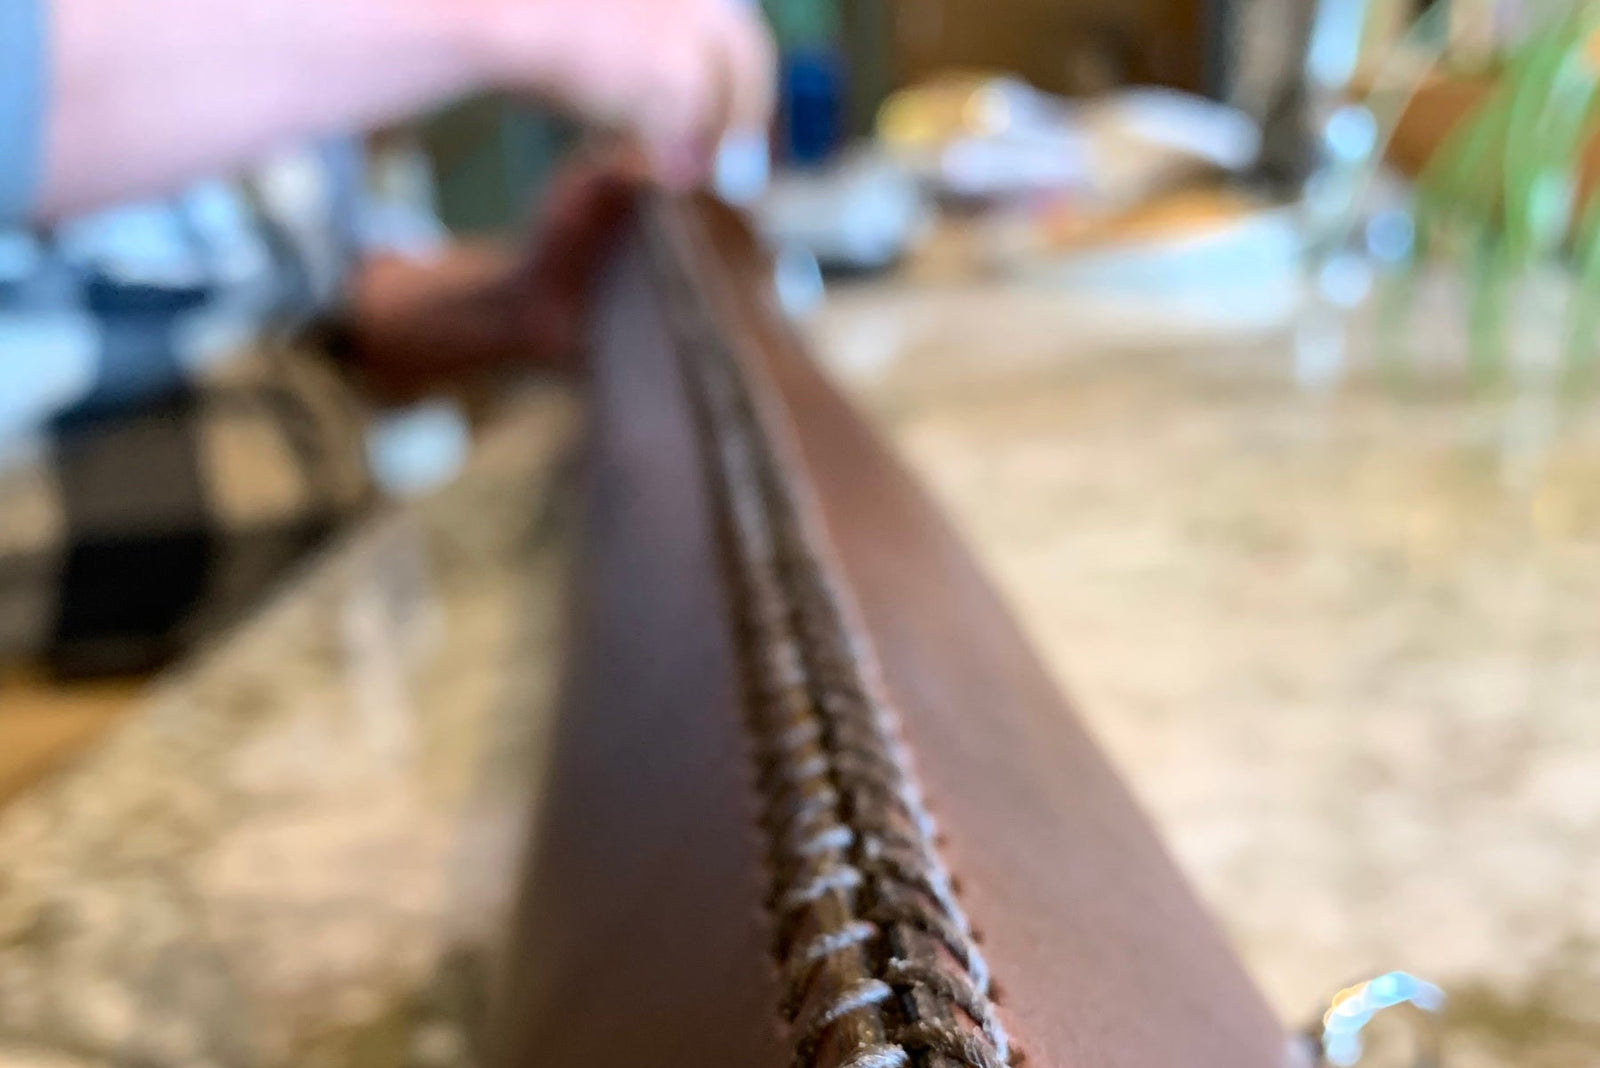
- Stitch Grooves. Quality leathercrafters - especially those that are hand-stitching - will make a channel for the stitching to lie in called a stitch groove. This shallow trench not only makes the stitching path clear for the hand-stitcher to follow, but more importantly allows the thread to lay flat with the surrounding leather surface, protecting it from snags and excess wear.

Photo credit: Erin Berzel for DK Publishing

Photo credit: Erin Berzel for DK Publishing
- Thread Thickness. How thick is the thread? Machine stitching is almost always done with the same threads used to stitch fabric, while hand-stitchers use extra thick, strong thread, usually 0.5 - 1 mm thick.
- Thread Waxiness. Hand-stitchers usually use a thread called sailmaker's thread, which is waxed with beeswax or paraffin. This coating of wax makes the thread more durable, protecting it from moisture (just like sailboat sails!). This is usually waxed polycord but some pieces use waxed linen or cotton, or even sinew or leather lace.
- Stitch Pattern. Saddle stitch is the signature stitch of hand-stitching and quality leathercrafters. Saddle stitch is stronger than any machine stitch because if a part of the thread were to get cut or snagged, the rest of the thread will stay intact. Look at where each stitch line ends: was it back-stitched by a machine or knotted off by hand?

Baseball stitch is another popular hand-stitch and is unbeatably iconic.

Photo credit: Erin Berzel for DK Publishing
What to Look For: Red Flags, Signs of Poor Quality
These are indications of poor quality leather. They will not be durable:
- Flaking or cracked surface veneer - this kind of bonded leather has a short life span and is unrecoverable.
- Look at the back side: is there fabric backing (a cross-hatched fabric pattern)? If so, this is low quality bonded leather.
- Is it labeled "genuine leather" or "bonded leather"? Well, now you know what that means!
- If the edges are visible: can you see if the color inside the leather is blue? If so, this is mineral-tanned leather that cut a ton of corners to be cheap and it will deteriorate quickly.

The folks at Saddleback Leather have taken great effort to try to explain leather quality, and published a pretty punchy video about it. They use a different kind of leather than we do, but our conclusions are largely the same: garment leather, genuine leather, and bonded leather are low quality leathers, and product quality can be seen in the details like stitching, edging, and assembly.
Tips for Thrift Shopping Leather
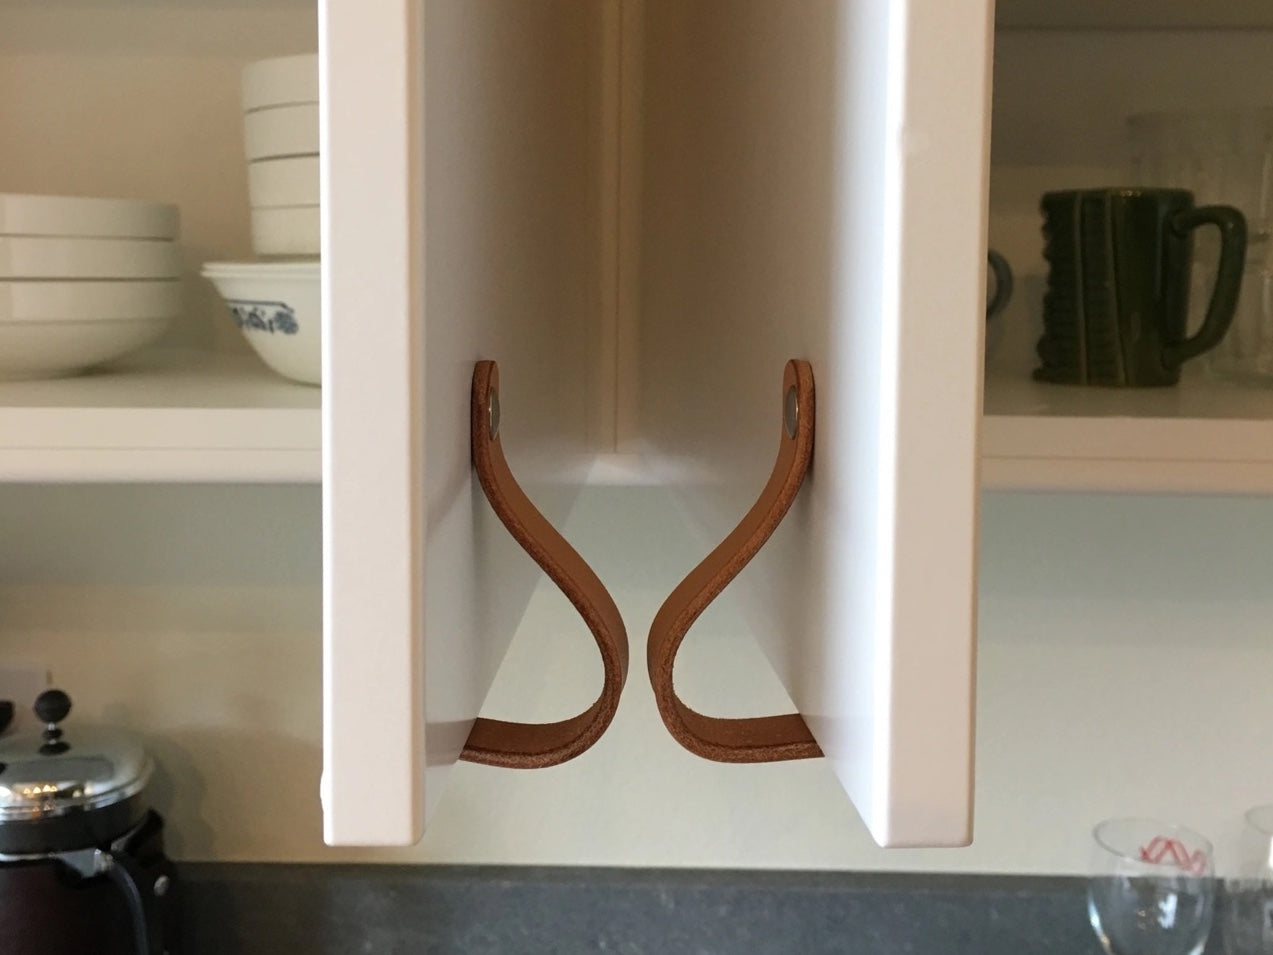
If you're in a thrift store and looking for a hidden gem to recover or refurbish, we can only recommend shopping for full grain vegetable-tanned leather. It is the most durable and ages well. That doesn't mean that they can't be found in an old thrift store looking rough and stiff! Full grain leather can be revived with a conditioning treatment, which is akin to refinishing a piece of wood.
In looking for used full grain vegetable-tanned leather, turn a critical eye to the item, just like with old cast iron pans. The leather should have integrity and structure, even if it's been broken in. The surface of the leather should be smooth like well-used cast iron pans. On the back side - if you can see it - it should have a slight fur or nap to it. If there is a wear pattern - an area that is darker where most likely the oils in the hands have been repeatedly glossing the leather, then you've found a good piece, go for it.
Old pleather, Naugahyde, garment leather, and genuine leather is unlikely to be rejuvenated well. Luckily, vegetable-tanned leather was the norm until the 1960s, so there's a good chance if it's older than that.
Bonded leather was never meant to survive: surface cracking will only get worse with time. Barring creative reuse projects, its destiny is most likely the landfill.
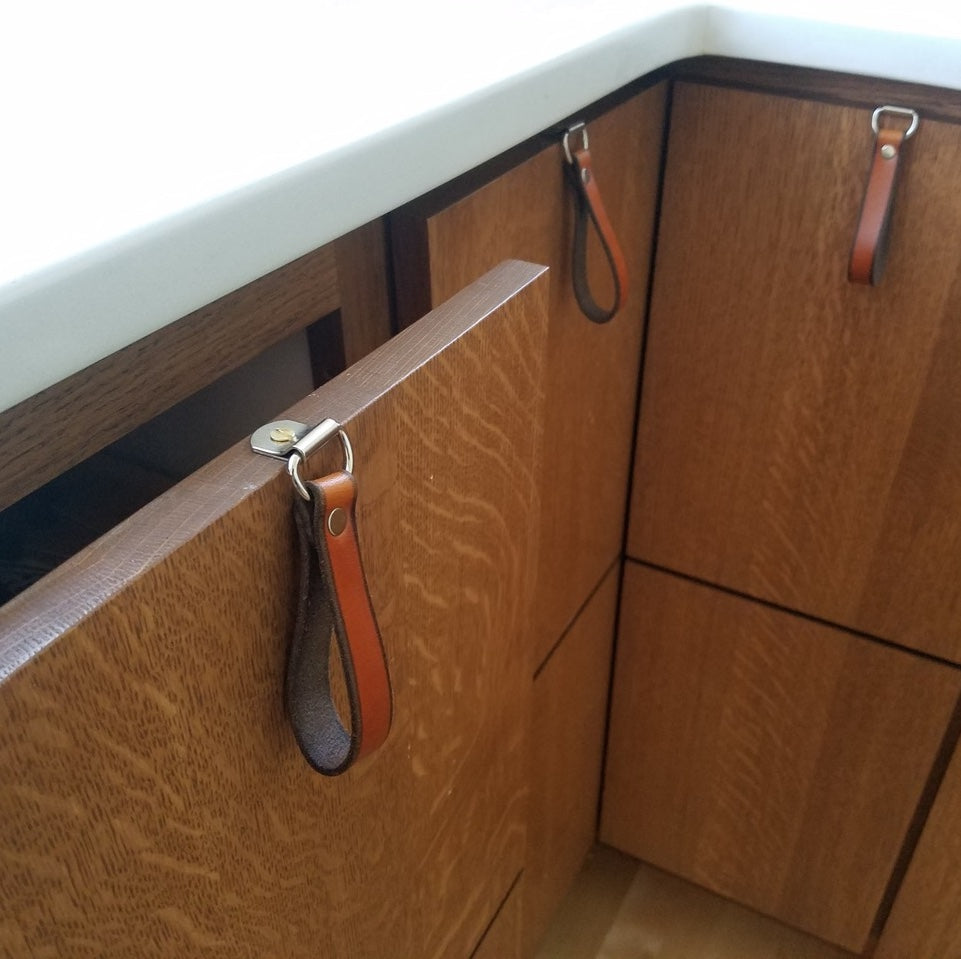
Lesson #9 at the Walnut Workshop
Leather Whiskey / Wine Case
The Whiskey Case shows off some our finest craftsmanship. The edges of the case meet perfectly together, a detail that can only be done by hand-stitching.
The large piece of hand-dyed leather shows the natural swirl of full grain. The bottom has a delicately cut contrast line and debossed logo that show the natural veg-tan leather underneath, a detail that can only be done by hand.

Next Lesson
Armed with this knowledge, you are now prepared to examine your next leather goods critically in the wild. The more critically you examine leather pieces, the more you'll gain an insight into the production methods and care used in creating them.
In Lesson #10, we'll show how to rescue those thrift shop gems: give moldy or mildewy veg-tan leather a 2nd chance and rejuvenate neglected leather.
Leather Learning Series
This post is part of our "Leather 101" educational series. We're sharing everything we know about our favorite material!
- Lesson 1: Leather Basics
- Lesson 2: Leather Sources
- Lesson 3: Leather Processing
- Lesson 4: Leather Tanning
- Lesson 5: Recap: The "Best" Leather
- Lesson 6: Leather Finishes
- Lesson 7: Leather Variability and Product Quality
- Lesson 8: Recap: The "Most Sustainable" Leather
- Lesson 9: Vintage Leather in the Store
- NEXT --> Lesson 10: Leather Rescue and Rehabilitation
- Lesson 11: Leather Care and Crafting
Get the full series delivered to your inbox in one email per day for 11 days:
Sign up for the email series >>>


walnutstudiolo
July 11, 2023
Yes, good catch. We use 1mm thread, but the post should have read 0.3-0.5mm. We will update our post now!