


UPDATED FEB 20, 2025. We developed the Oswego Leather Wrap Kit for wrapping infinite lengths, such as a long bannister, handrail, or stairway railing.
This is how to order and install quality leather wraps on any length of rail or bar.
Table of Contents
Connect the Straps to Wrap Very Long Rails
Each strap length is limited by the size of the hide, but you can wrap any size of railing by simply attaching straps together during installation.


Of all our wrap styles, the Oswego kit has the longest continuous piece of natural, vegetable-tanned leather we can cut from the hide. This minimizes the number of connections you have to make.


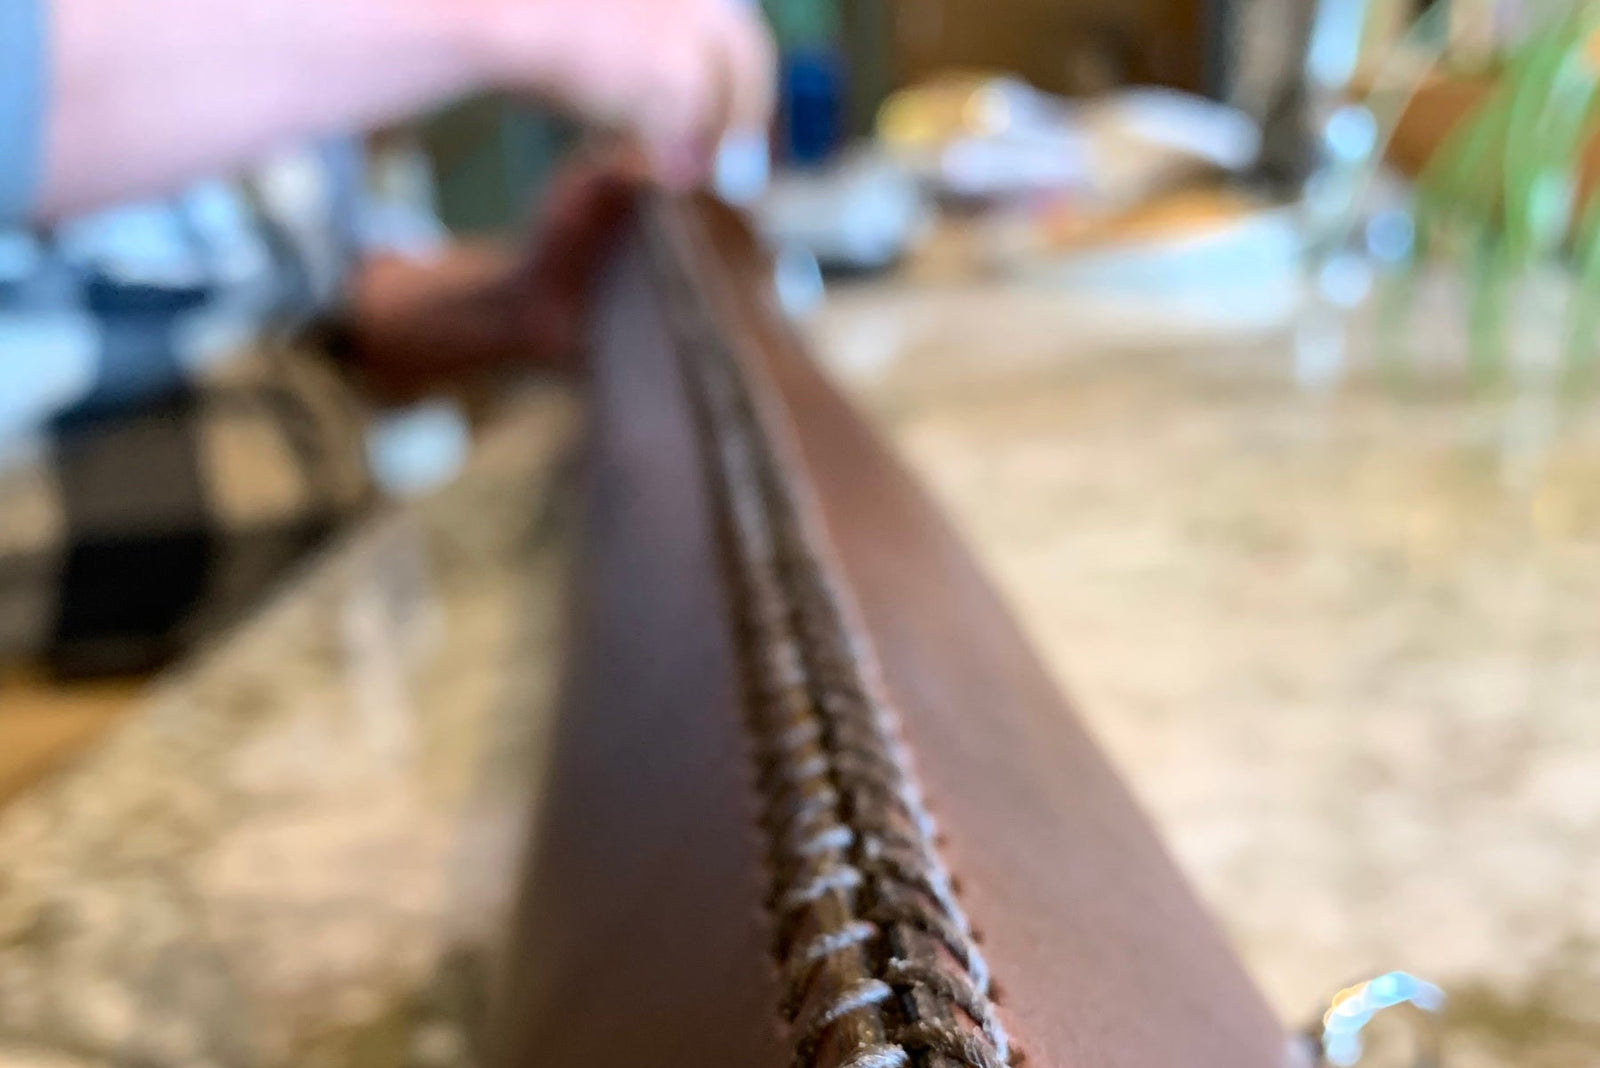
Connecting multiple lengths of the Oswego kit is easy to do using the (included) leather staples. Each kit includes the staples.
To connect / transition from one set to the next, you simply staple them together. The coils and the wetting/drying process hold the leather secure to the railing. In other words, the staples just hold it in place during drying and installation.
As explained in the instructions provided, we show how to hide this connection on the underside of the handrail. You simply use sharp scissors to cut the strap to length, so that the connection point will be on the back side of the bar during wrapping.

Connecting multiple lengths together makes installation easier on a larger project. One very, very long leather strap is unwieldy to wrap and requires either excellent dexterity or two sets of hands. It can also be challenging to keep the entire length wet for the duration of installation. Plus, you can also put your work down and take a break!
Strap Connection Options
- Staples. Why staples? The leather staples we use have a very sharp, awl-like point that allow the installer to put in the staples at the exact right place during installation. It's flexible to their application. This allows them to hide the connection on the backside of the railing with the minimum number of tools needed. (Beware, they are sharp!)
- Stitching. Do you prefer stitching to staples? If you're crafty, you can do this yourself using an awl, needle, and thread. Our Replacement Stitch Kits include our waxed sailmaker's thread and a blunt needle. (You'll need to make the stitch holes yourself using an awl or other sharp tool.)
- Stitching Service. As a Custom Commission, we can hand-stitch straps together for you. (We don't recommend more than two: three+ lengths get unwieldy to install). Be Aware: the stitching may be visible on the top side of the handrail during installation, as it falls where it may during coiling.

How To Wrap Around Handrail Posts, Balustrades, Bannisters, and Support Hardware
Handrails have vertical or horizontal supports to secure them to the wall or ground. One way or another you'll need to wrap around these supports. Here are some examples:
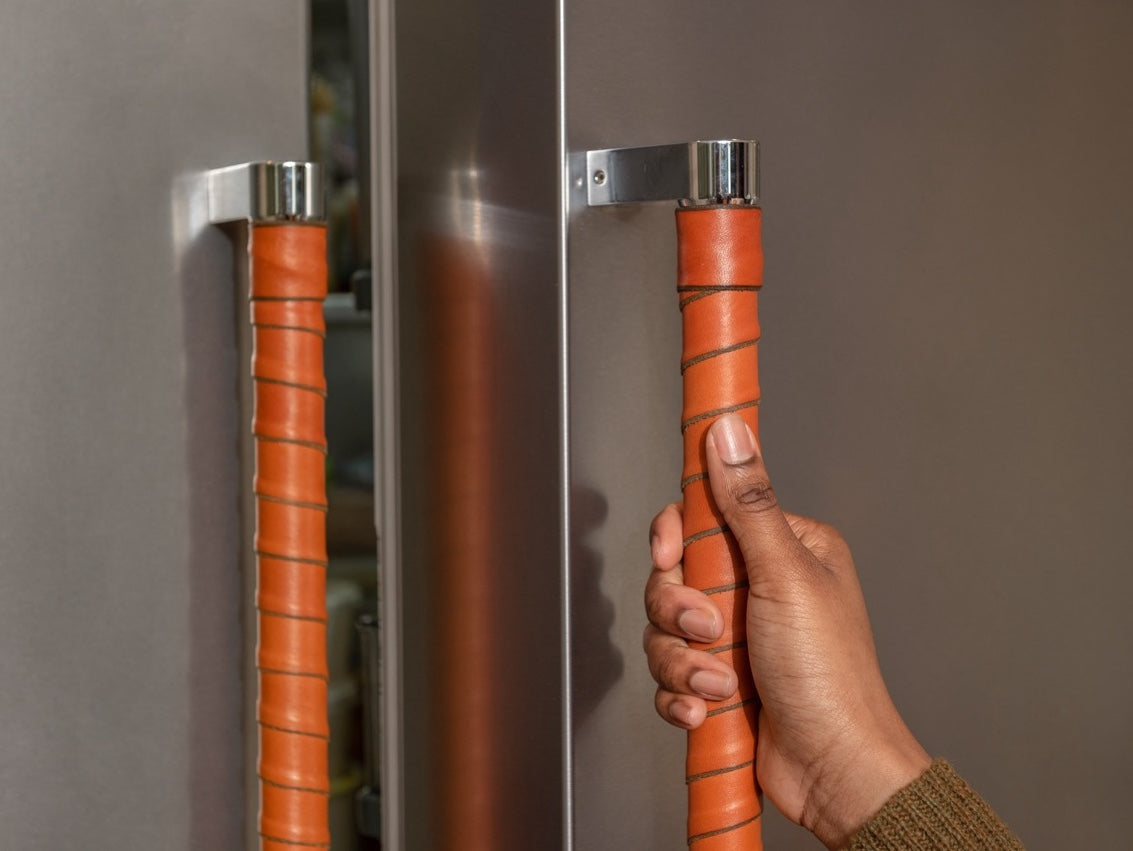
Wall support brackets are the most common and the easiest to accommodate, because they have such a small connection point. They are quite unobtrusive. Usually you can simply wrap the leather around the bracket connection. Sometimes a slight adjustment to the coil overlap width to dodge the bracket is all that's needed.

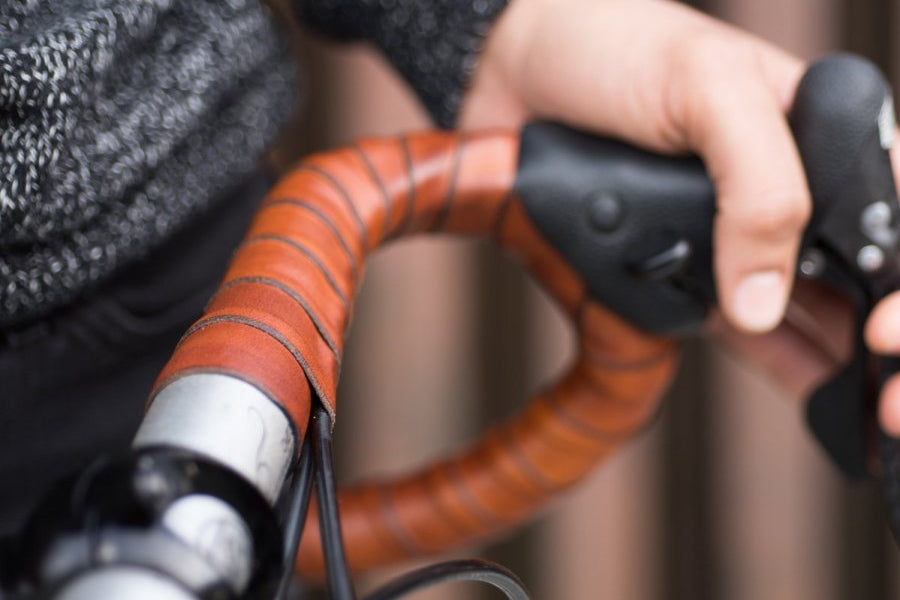
Balusters (vertical supports) and balustrades can sometimes be a little more tricky, and they are unique to each installation. We manage similar scenarios on bicycle handlebars when wrapping around curves and brake hoods.
Most can be flexibly wrapped around the baluster, but sometimes you may need to snip a gusset or strategic cut-out with sharp scissors.

How Many Kits Do You Need?
We hired a PhD in Mathematics to come up with a calculator for estimating how many kits you'll need!
Remember, it's better to have extra material than not enough on installation day. You can always order an extra kit and return it if unused (see our Refund Policy for more information.) Rush orders and overnight shipping, or calling the contractor in a second time to finish the job can add unnecessary expense and delay to project management.
To use the estimator, you'll need the circumference (or diameter) of handrail and the length to input into the formulas. Download a copy of this spreadsheet to your computer to get started:
More Customization Options: Widths and Lengths
Yes! We can customize your wrap by width and length. We are limited by length to the size of the hide, but we can connect multiple straps together as discussed above.
This is a great option for unique projects. We find that it usually looks classically proportional to have the width of the strap match the diameter of the rail. An extra-wide handrail may want a wider strap, say 2" wide, instead of the standard 1.25". Or, as one customer did who was wrapping a toy car steering wheel, the project may need a skinnier and shorter wrap.
If you have a special project to discuss, ask us about Custom Work!
Other Leather Wrap Styles and Braids
Looking for a different wrap than a coil, such as a multi-strap braid or a clean sew-on wrap? We chose the coil for the Oswego Wrap as the simplest and most flexible installation method.
But we make other leather wrap styles, which were originally designed for bicycle handlebars (a very complex shape). These wraps be adapted for use on a bannister or handrail. We can make these custom for your project, or crafty folks can DIY it.
Here is a blog post detailing the different styles of wraps with the DIYer in mind:


Leave a comment (all fields required)