

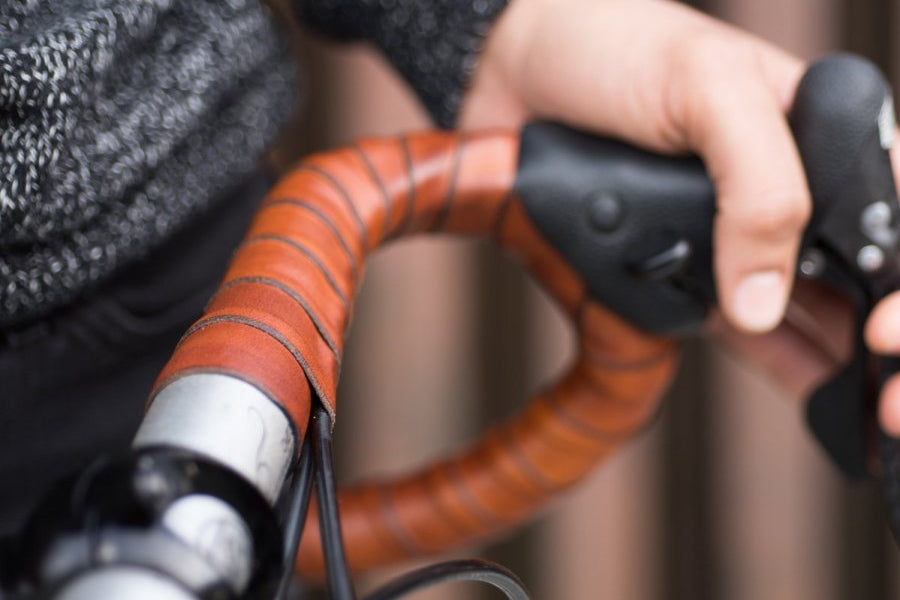


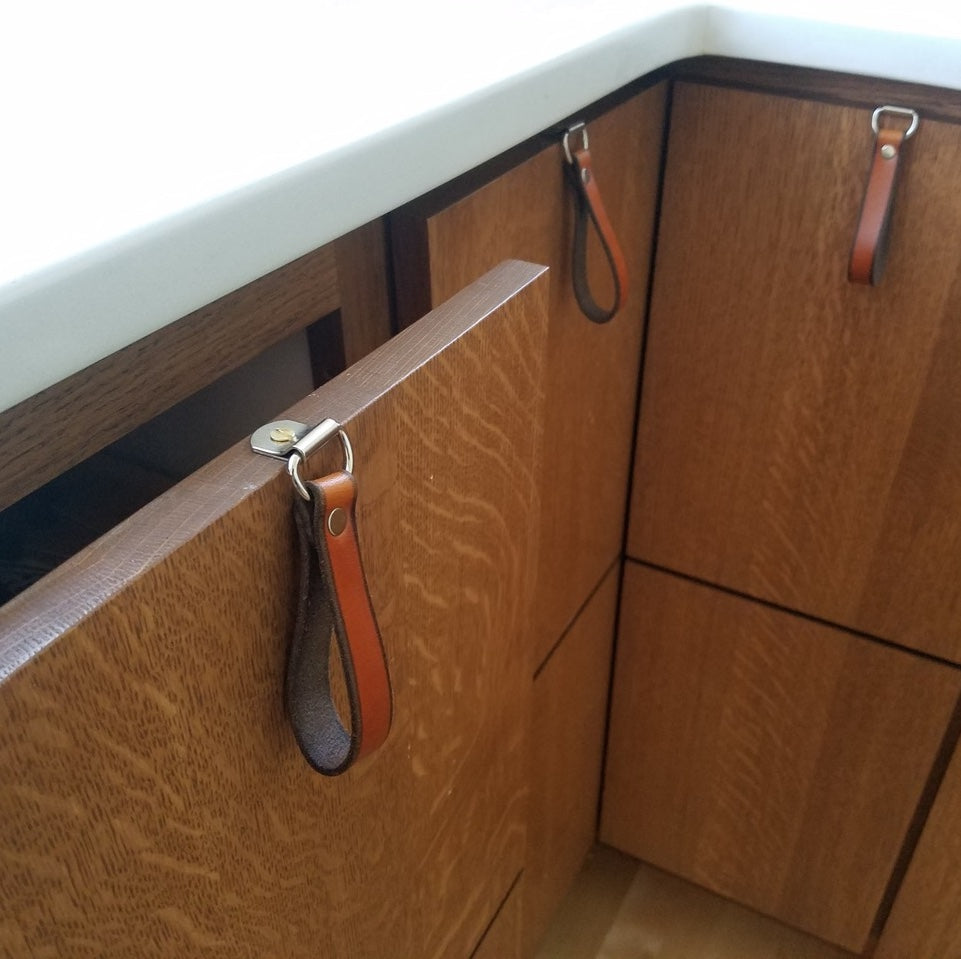
After leather bar wraps have been sewn, coiled, or braided in place, our attention turns to the ends: where the bar wraps are anchored to the bar. During installation, we use electrical tape as a placeholder, but oftentimes there's a need to go one step further and cover up the electrical tape, for looks or functional reasons.


Electrical tape is low-tack, won't leave a residue, and available everywhere in many colors. (You can even dress up the electrical tape by cutting thin strips of colored electrical tape to create a pinstripe effect.) The electrical tape can stay permanently, but some folks would like a more more natural, finished look or more durability.
We recommend "whip-tying" for a durable, natural material, handcrafted look to finish bar ends. This is a very old-fashioned knotting technique borrowed from sailors and ropemaking. It can use any thread, twine, or cord that you like, waterproofed or fortified with a simple shellac you likely have in the house right now. In this post, we'll show you how!


Gather Your Materials
You only need a few simple things:
- Thread, cord, or twine
- Optional: shellac or watered-down school glue (like Elmer's Glue) with applicator
- Sharp scissors
Which Type of Thread To Use
The traditional, "retro-grouch" choice for whip-tying is a rough jute twine, like the kind used for gardening. This method was popularized by Rivendell Bike, who now sells hemp twine.
But you can use just about any thread you like! Popular choices include jute or hemp twine, artificial sinew, or waxed sailmaker's thread, like the kind we use for our stitching kits.

Photo by Richard Risemberg on Flickr.

Do You Need Shellac?
Shellac is not strictly necessary to keep whip tying in place, but it does help bind the threads together and give a coat of waterproofing.
For Waterproofing
The more waxy the thread is, the less likely it is you'll need to waterproof it. For example, artificial sinew doesn't really need shellac for waterproofing: it's already impervious. Waxed sailmaker's thread already has wax applied to it.
For Heavy Handling
If you're going to be putting a lot of strain on that area, such as by offroading and gripping the area tightly on your bicycle handlebars, you should really use a good coat of shellac to bind the threads together and prevent unraveling. With traditional twine, bicycle mechanics would coat it in industrial shellac to prevent fraying: almost plasticizing it.
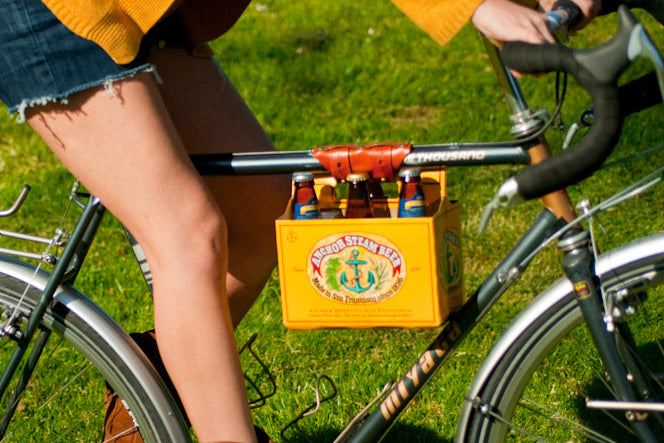
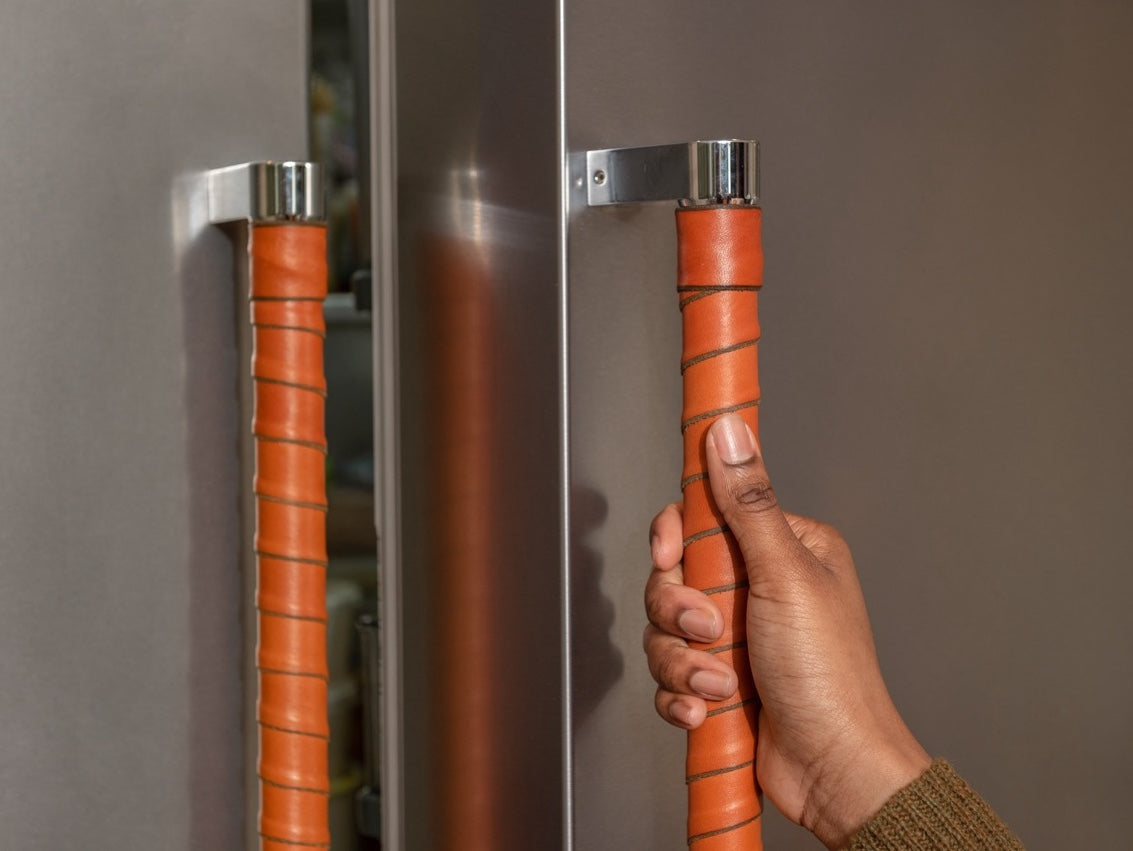
But if you're just putting them on the ends of a fridge handle where you'll be unlikely to touch it often, it's not worth the time (and possible risk that the shellac will add residue to the handle)
On our bikes, we use the same waxed sailmaker's thread used for stitching on sew-on wraps, with a thin coat of watered-down Elmer's Glue, which we find is adequate for everyday urban cycling use.


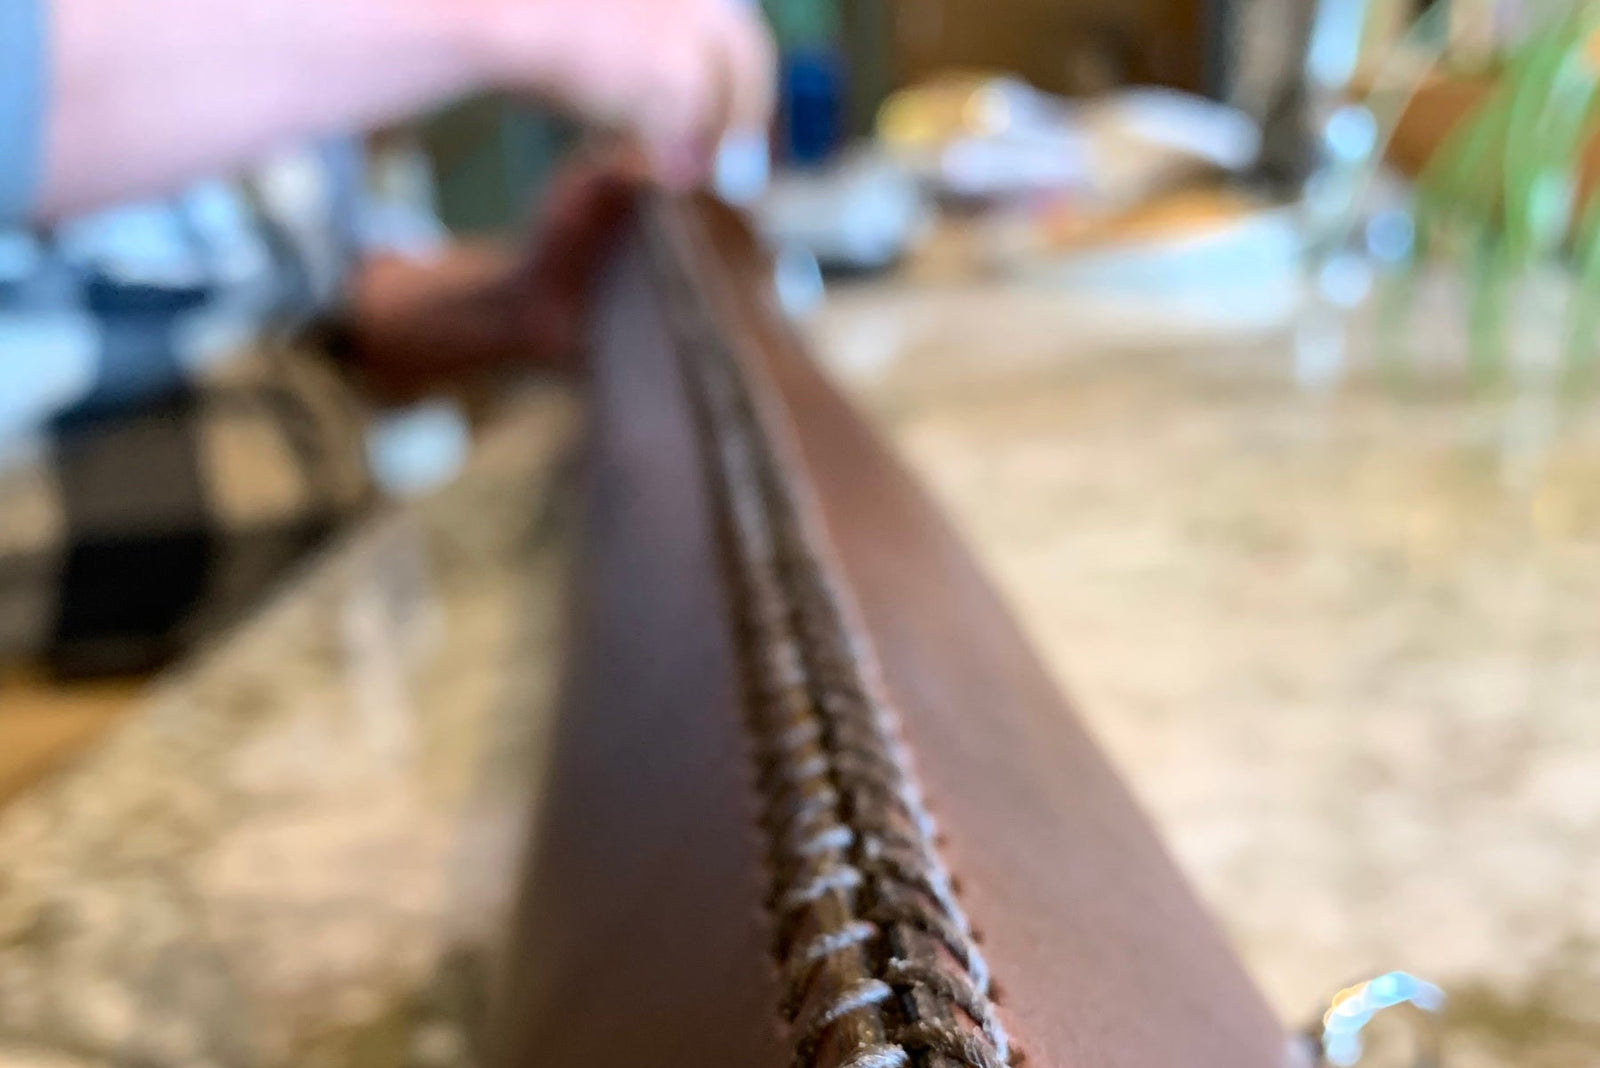
How to Whip Tie Bar Ends (Whip Knotting)
Borrowing a trick from sailmaking, we use whip-tying (also known as whipping, or whip-knotting), to protect and cover the ends of bars.
A whipping knot or whipping is a binding of marline twine or whipcord around the end of a rope to prevent its natural tendency to fray. The whipping can be made neat and permanent by tying it off or sewing the ends of the twine through the rope.
Illustrated Tutorial
Use this visual tutorial to see how it's done:

Step-by-Step Tutorial
For photo instructions, look no further than michaelk42's excellent Instructables post from 2007. We also particularly like the way he whip-tied his brake levers:
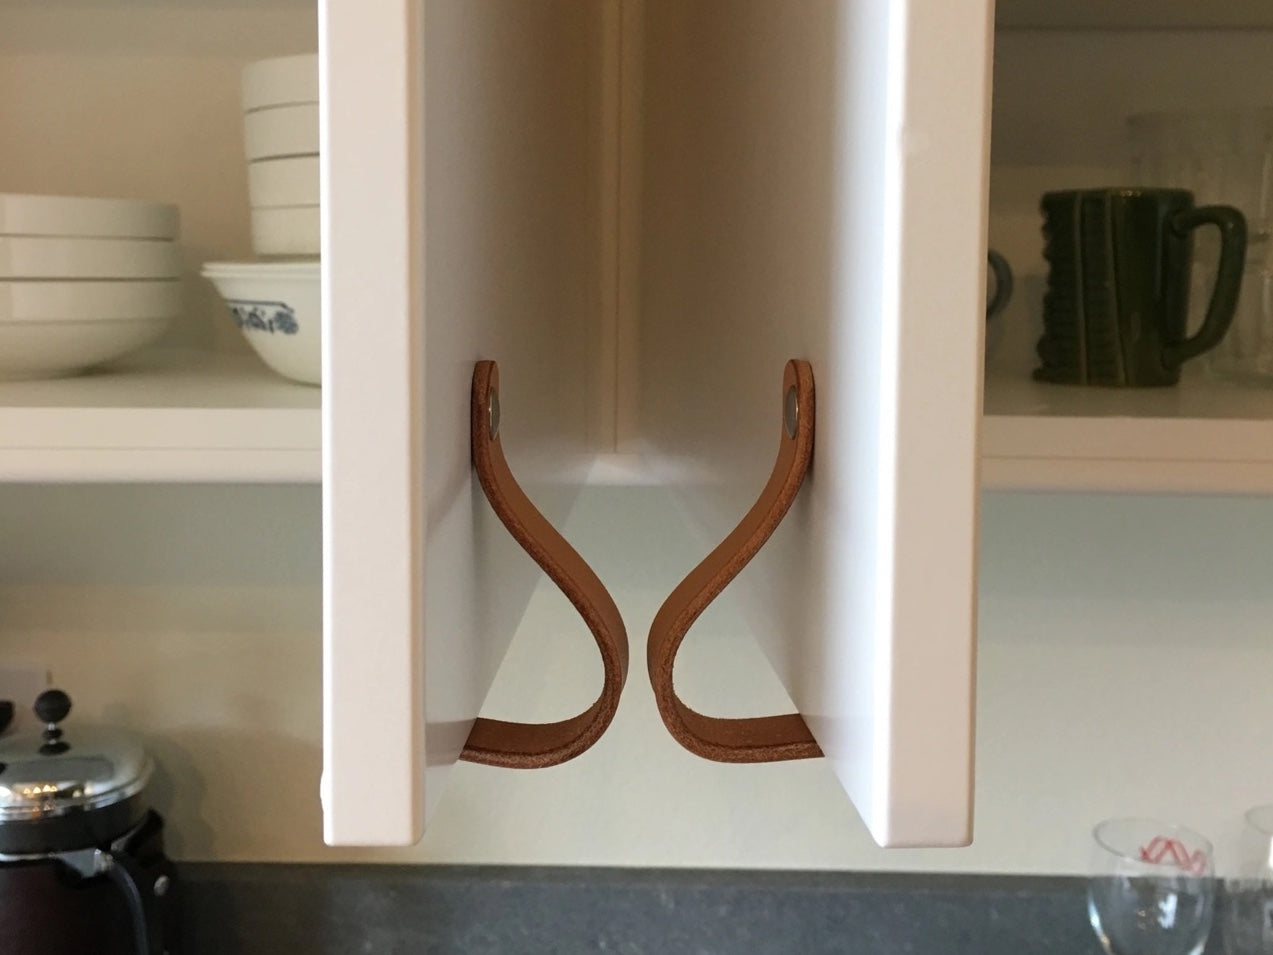
What Else Can You Whip-Tie?
You may find -- after getting the hang of it -- that you'll want to wrap a lot more things in your life with this versatile technique!
An un-shellacked whip-tie is also a great way to store extra cord for traveling, go bag items, and bike bags, similar to paracord bracelets.


Leave a comment (all fields required)