


UPDATED FEBRUARY 2, 2026.
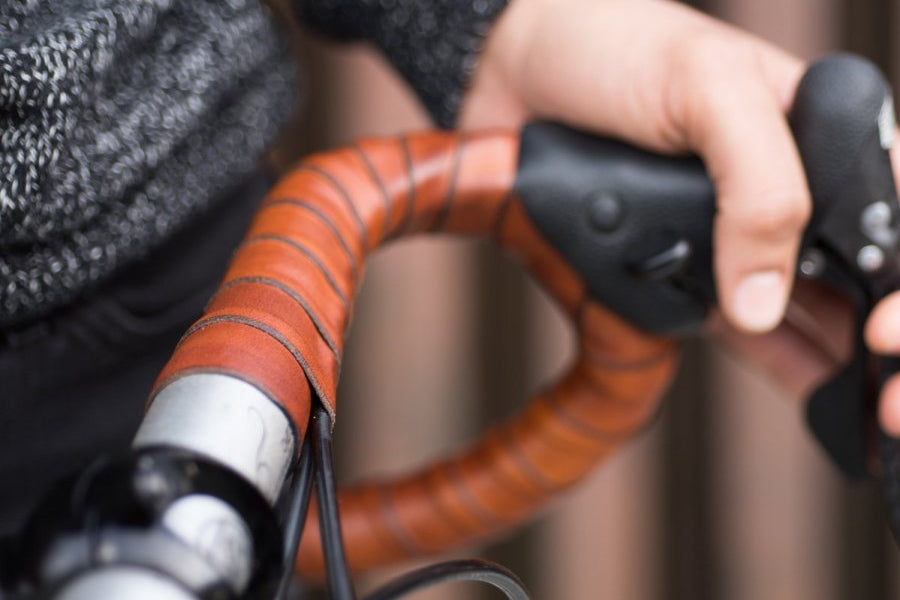
Our vintage-quality leather wraps can last a lifetime -- sometimes longer than the items they wrap! To keep the patina you've earned, you can un-install and re-install wraps anew: coil-on, braided, or sew-on wraps.

Jump to Section
Customer Question
Last year I bought a set of your sew on bar wraps, but now I want to switch brake levers. Can I "un-sew" the leather up to the brake clamp and get them "re-sewn" without destroying the leather?
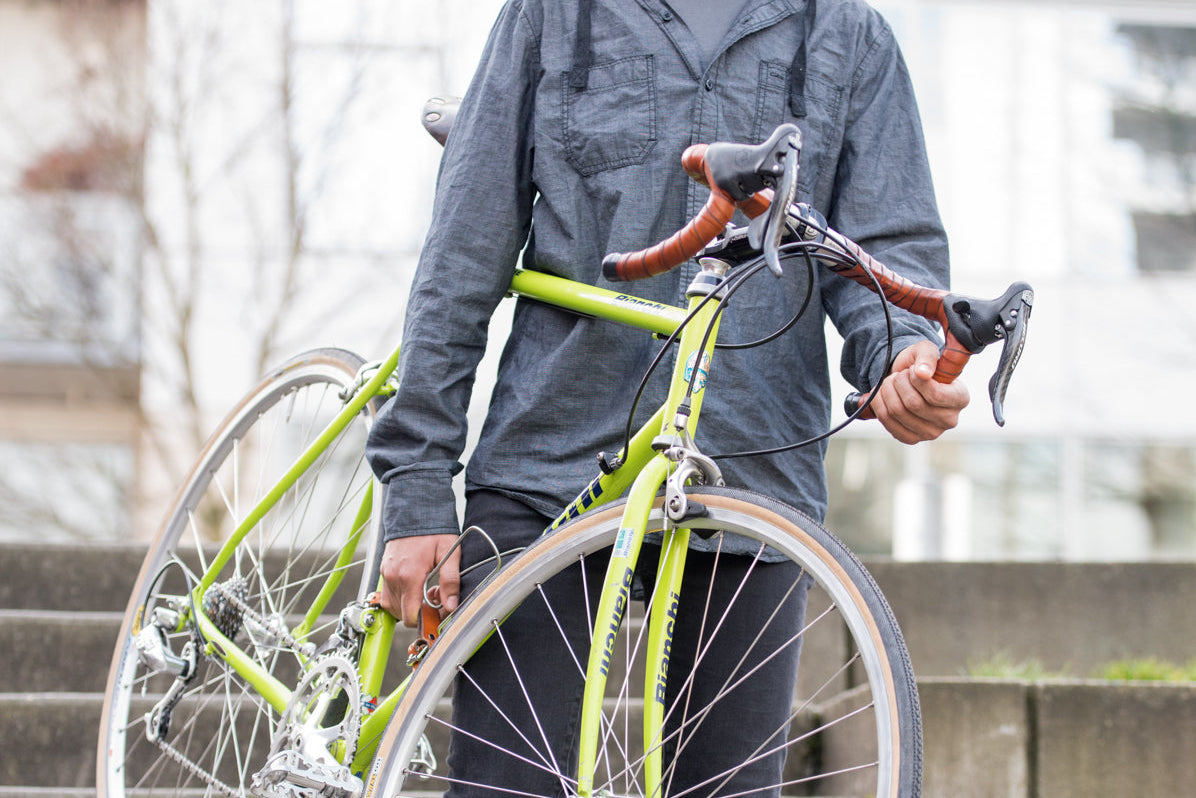
How to Un-install and Re-install Leather Wraps
These instructions apply to all of our vegetable-tanned leather handlebar wraps (sew-on, coil, and braided), as well as the Portage Strap, a stitched-on leather shoulder cushion for the bicycle frame.
Has it been done before? Absolutely! Geoff has personally moved the same set of Sew-on Bar Wraps onto three different bars over a ten-year period! We have moved the same oven handle Oswego wrap between appliances. And we've supported many customers over the years doing the same.
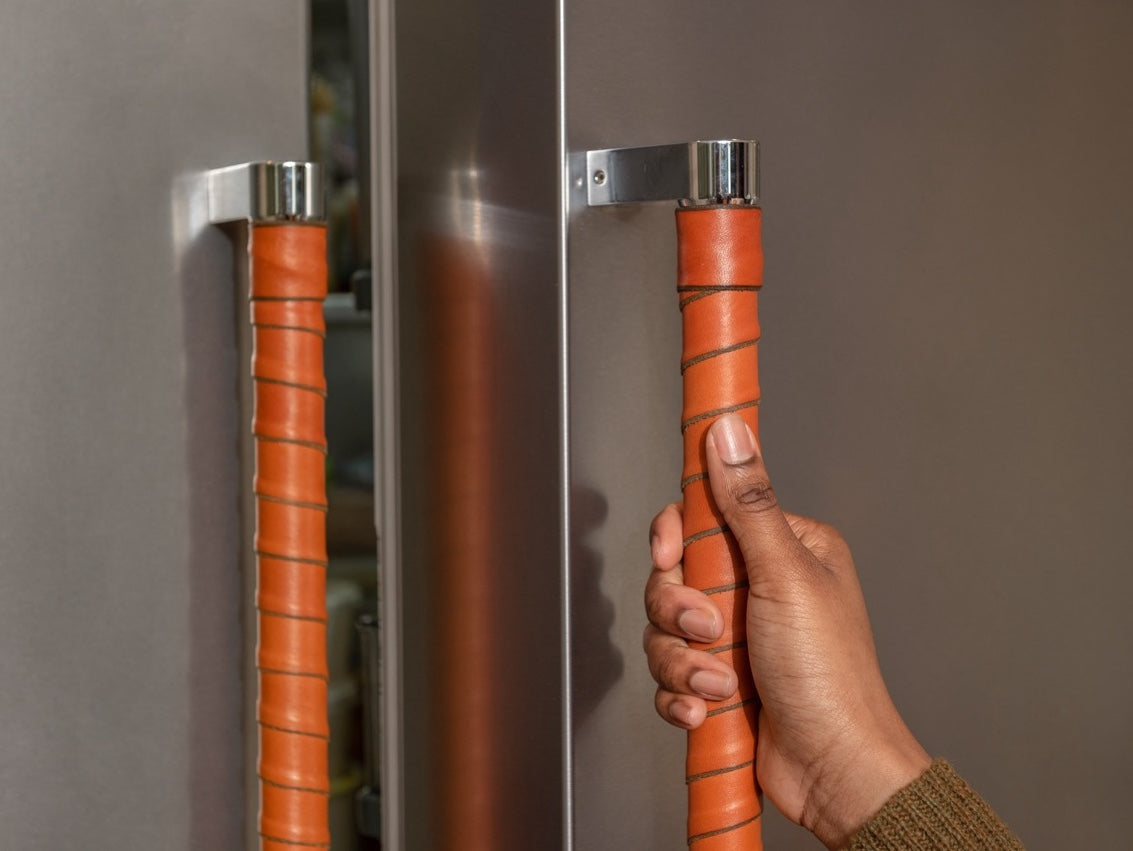
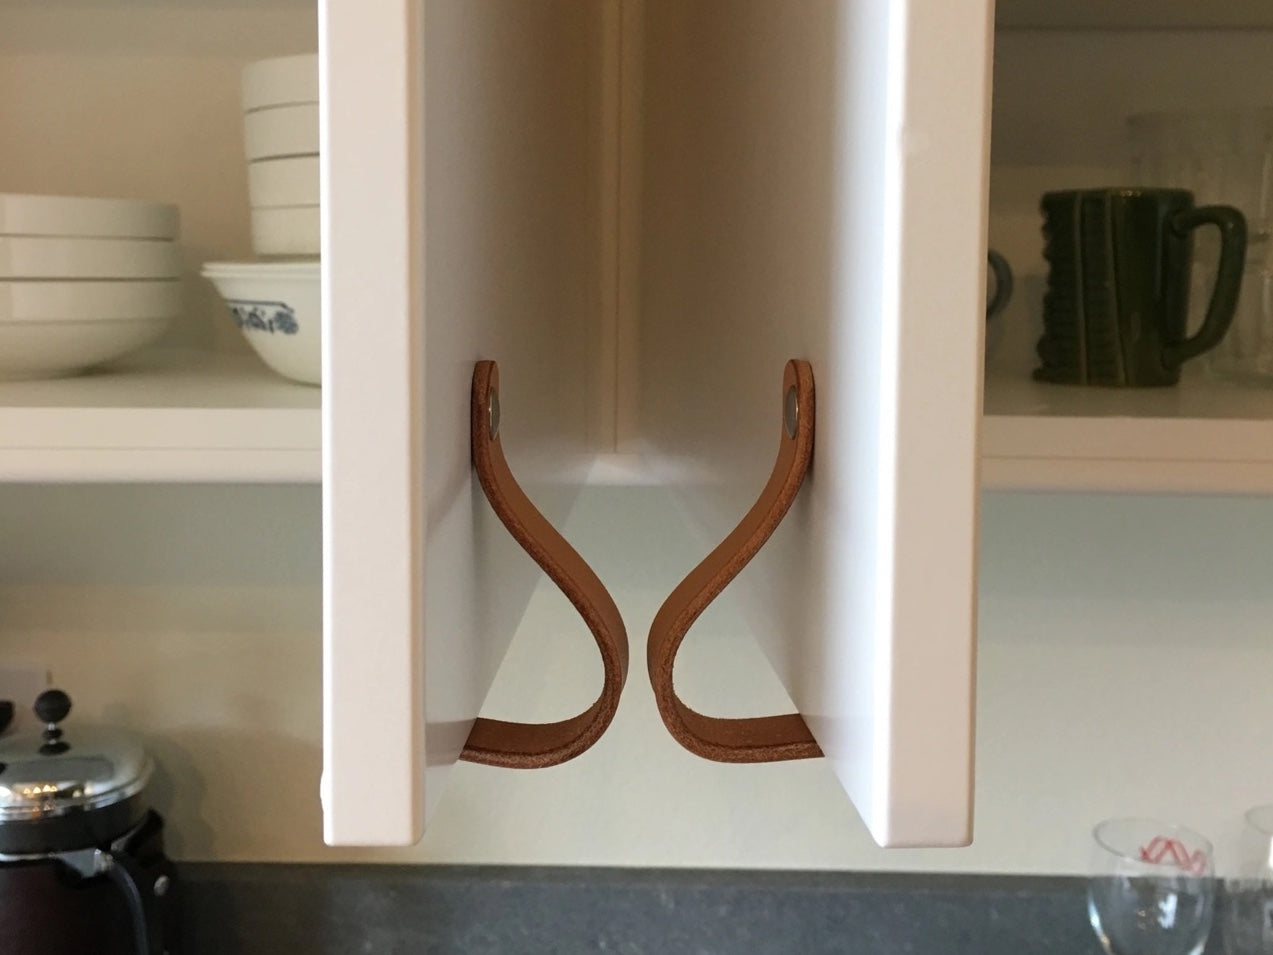
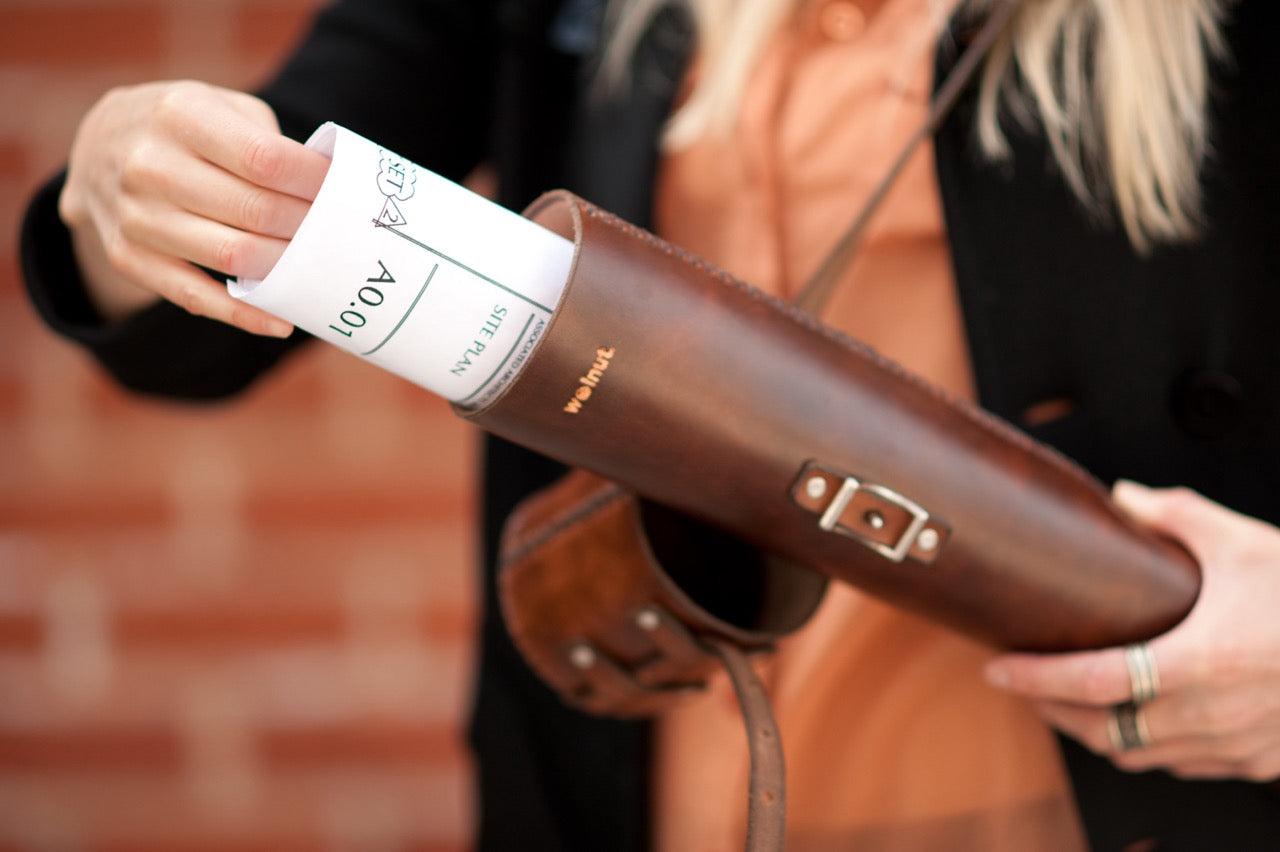
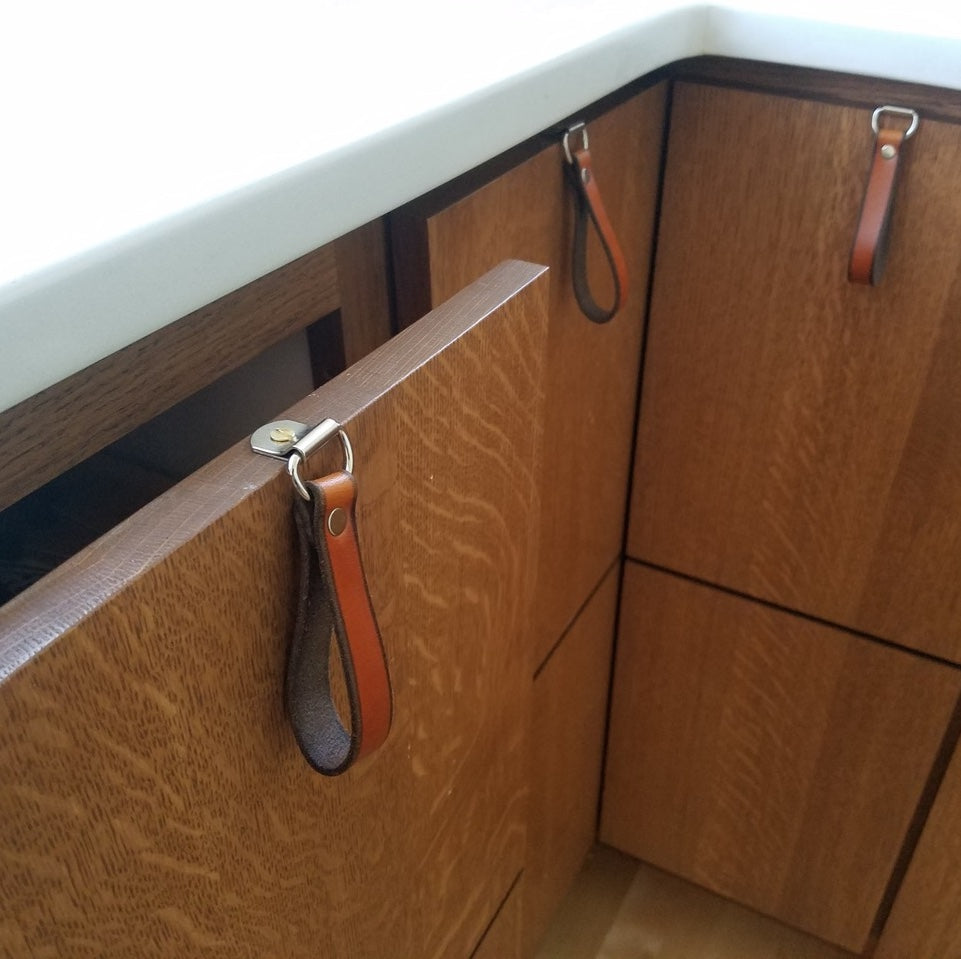
The same instructions apply for non-traditional uses of our leather bar wraps too, such as for gym equipment, strollers, appliances, tool handles, or architectural applications.

Before You Get Started
- If you need replacement parts, order them in advance:
- For sew-on wraps:
- Stitch Kits with needle, thread and instructions
- Extra lengths of Waxed Thread (if you kept your needle) or for whip-tying
- For Oswego Wrap Kits using leather cuffs:
- Extra Leather Staples
- Optional: extra lengths of strong-yet-removable Double-Sided Tape
- For sew-on wraps:
- Re-watch the original installation video(s) on our Vimeo channel.
- Download the original installation instructions for your bar wrap style from our website:
- Bicycle wraps page
- Drawer pulls page: Oswego Leather Wrap Kit
- Assemble your tools:
- Spray bottle with water
- Thread nippers or small sharp scissors
- Electrical tape
Un-install Wraps


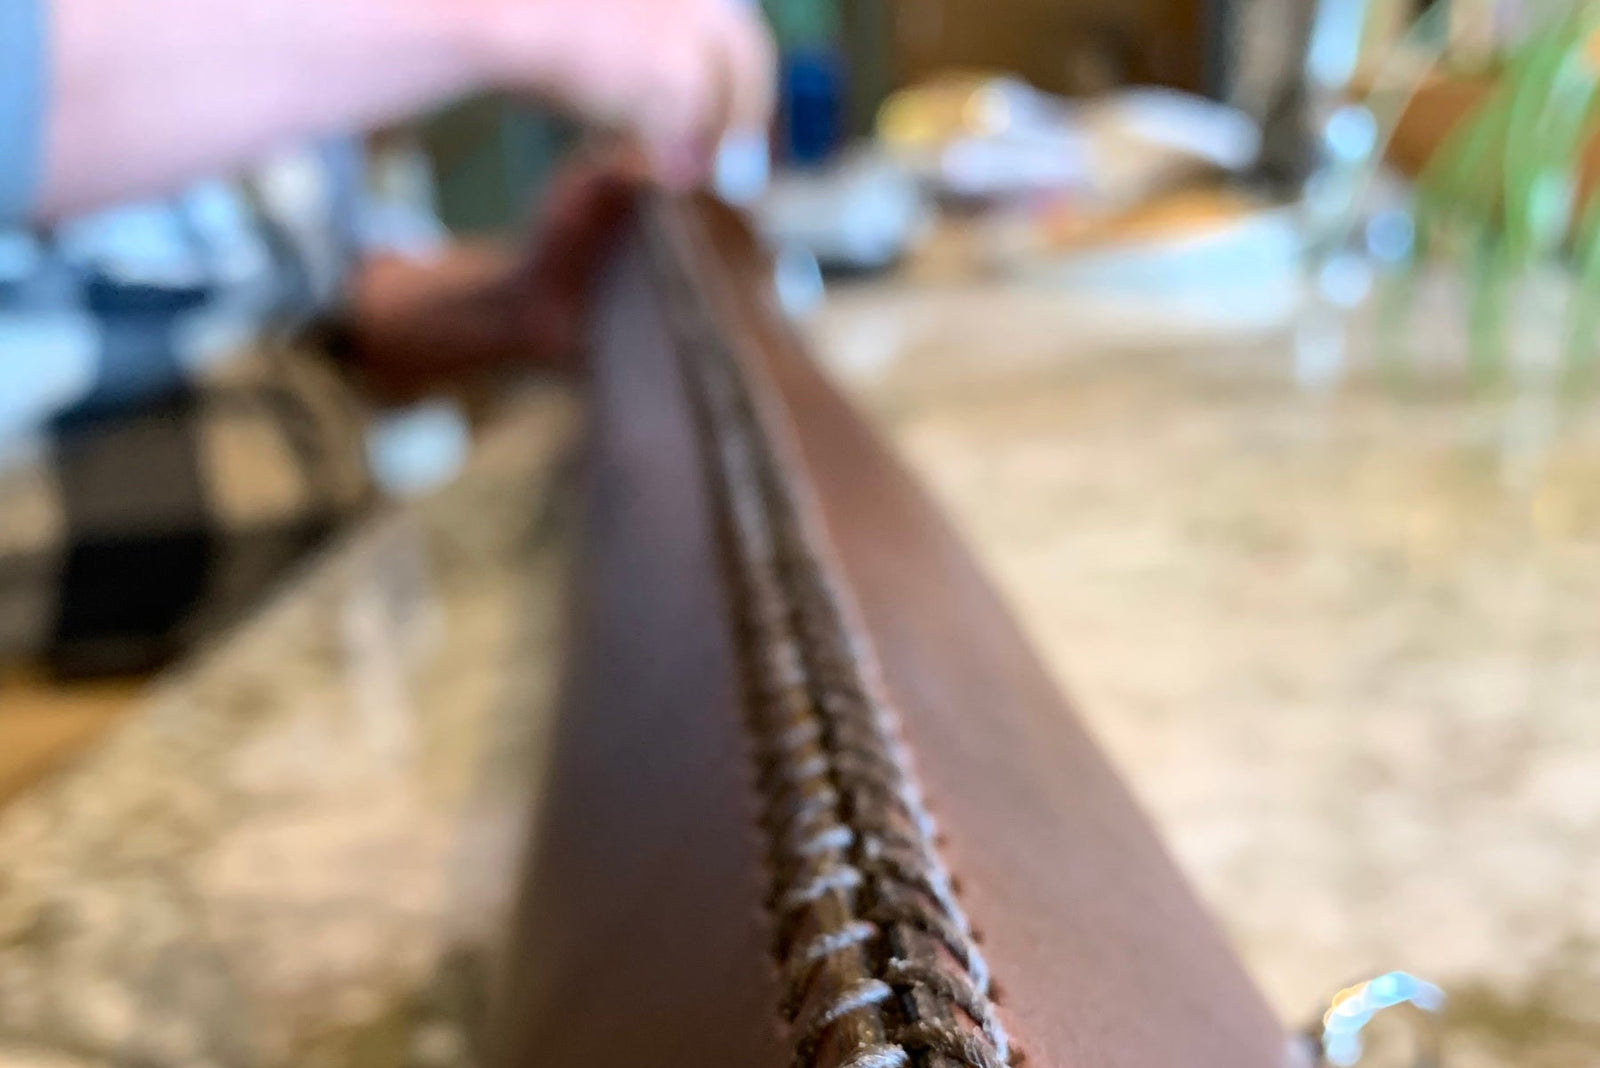
- For sew-on: use thread nippers or an small sharp scissors to cut the thread between the two edges of leather down the length of the bars.
- For coil and braided: Cut or unravel the thread or tape anchoring the ends. Be careful not to cut the leather itself.
- Gently un-do the coil, braid, or stitching and remove. Be extra careful not to tear stitch holes by pulling thread gently.
Re-install Wraps

- When you're ready to re-install, follow the installation instructions directions exactly like the first time.
- Be sure to clean the bars again and re-wet the leather.
Tips and Tricks from Geoff
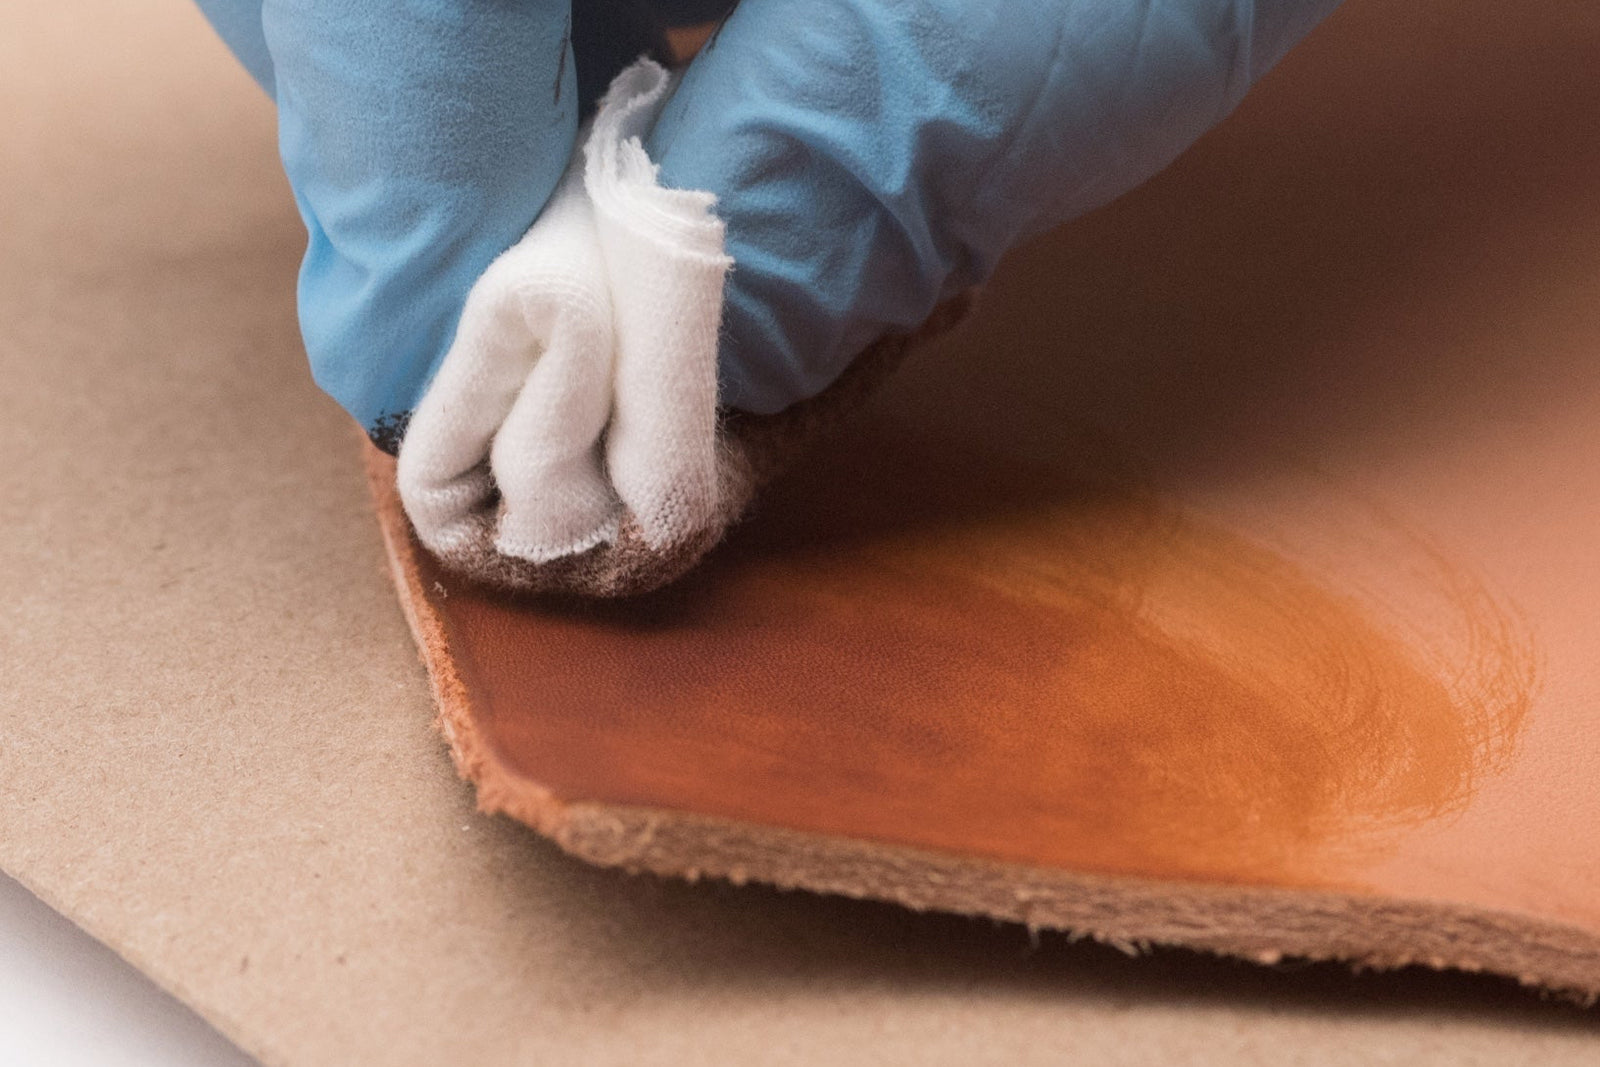
- Getting the leather wet makes it pliable and forgiving. Use room temperature water. You can't get them too wet.
- Be aware of cutting wraps short -- if you cut them short every time you re-install, there will be less and less available for future re-wraps.
- Be aware of the possibility of shrinkage, particularly when wraps are wet. Wait until fully dry before trimming to length. Read more about tackling shrinkage.
- When re-installing braided wraps, like the Bullwhip Braided Bar Wraps, bear in mind that the new braid will most likely be slightly different than the last. It's near-impossible to braid exactly the same way, which may disrupt the look of the patina. Don't worry: you'll give it an ever better patina with more miles in the saddle.
- If you're changing to a shorter handlebar, such as from a drop bar to a bullhorn, you can cut the leather short using sharp scissors or an exacto blade. If it's a stitched-on product like the Sew-on Bar Wraps or City Grips, Geoff recommends measuring carefully ("measure twice, cut once!") before cutting to try to avoid cutting midway through a stitch hole.

Keep the Leather Patina You've Earned
Unlike typical bar tapes, vegetable-tanned leather bar wraps earn a beautiful patina from the oils and sweats in your hands over miles over riding and actually improve with time and use. And you can keep that well-earned patina: our vegetable-tanned leather will last you a lifetime and can be removed and re-installed many times over.
Bicycle bar wraps don't have to be a disposable, one-time-use product. Most bar tapes are made out of limited lifetime materials, like plasticky foam, bonded leather composite, or cork composite that disintegrate and look dirty with time and use.
Our master craftsman and fellow bicycle commuter Geoff Franklin was actually first inspired to make these leather bar wraps when he was poring over modern-day pictures of vintage European bicycles. In the images, he noticed all the leather accents that must have been nearly 100 years old still looked gorgeous -- in some cases, in better shape than the bicycle itself!
How did your re-installation go? We'd love to hear about your experience!


Leave a comment (all fields required)