UPDATED MAY 2022. With sew-on leather bar wraps, it's worth a moment to think about how you'd like the ends to look. Unlike Braided Leather Wraps or Coiled Leather Wraps, which need, at a minimum, tape to "anchor" the ends to the bar, sew-on bar wrap ends can be left clean, without anchor or cover.
All our leather wraps are installed wet and dry into place, and when the sew-on wraps dry, a small amount of "contraction" can occur at the un-anchored ends, leaving a small gap between the leather and the end: usually about 1/8" or less.
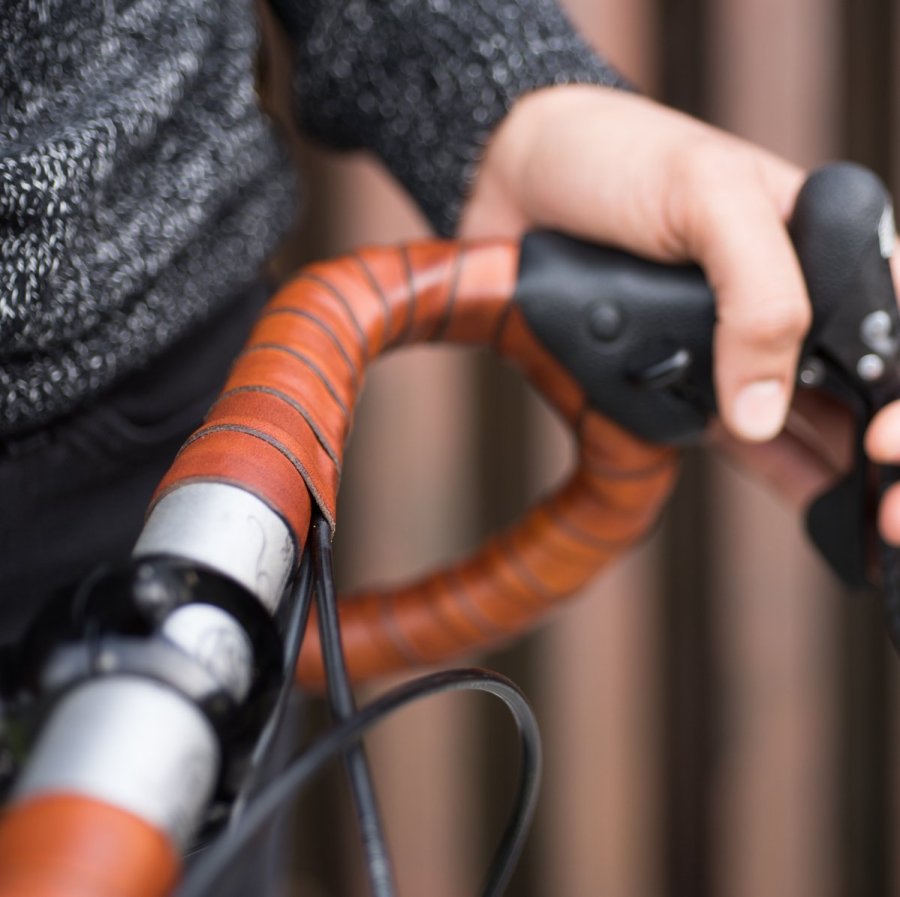
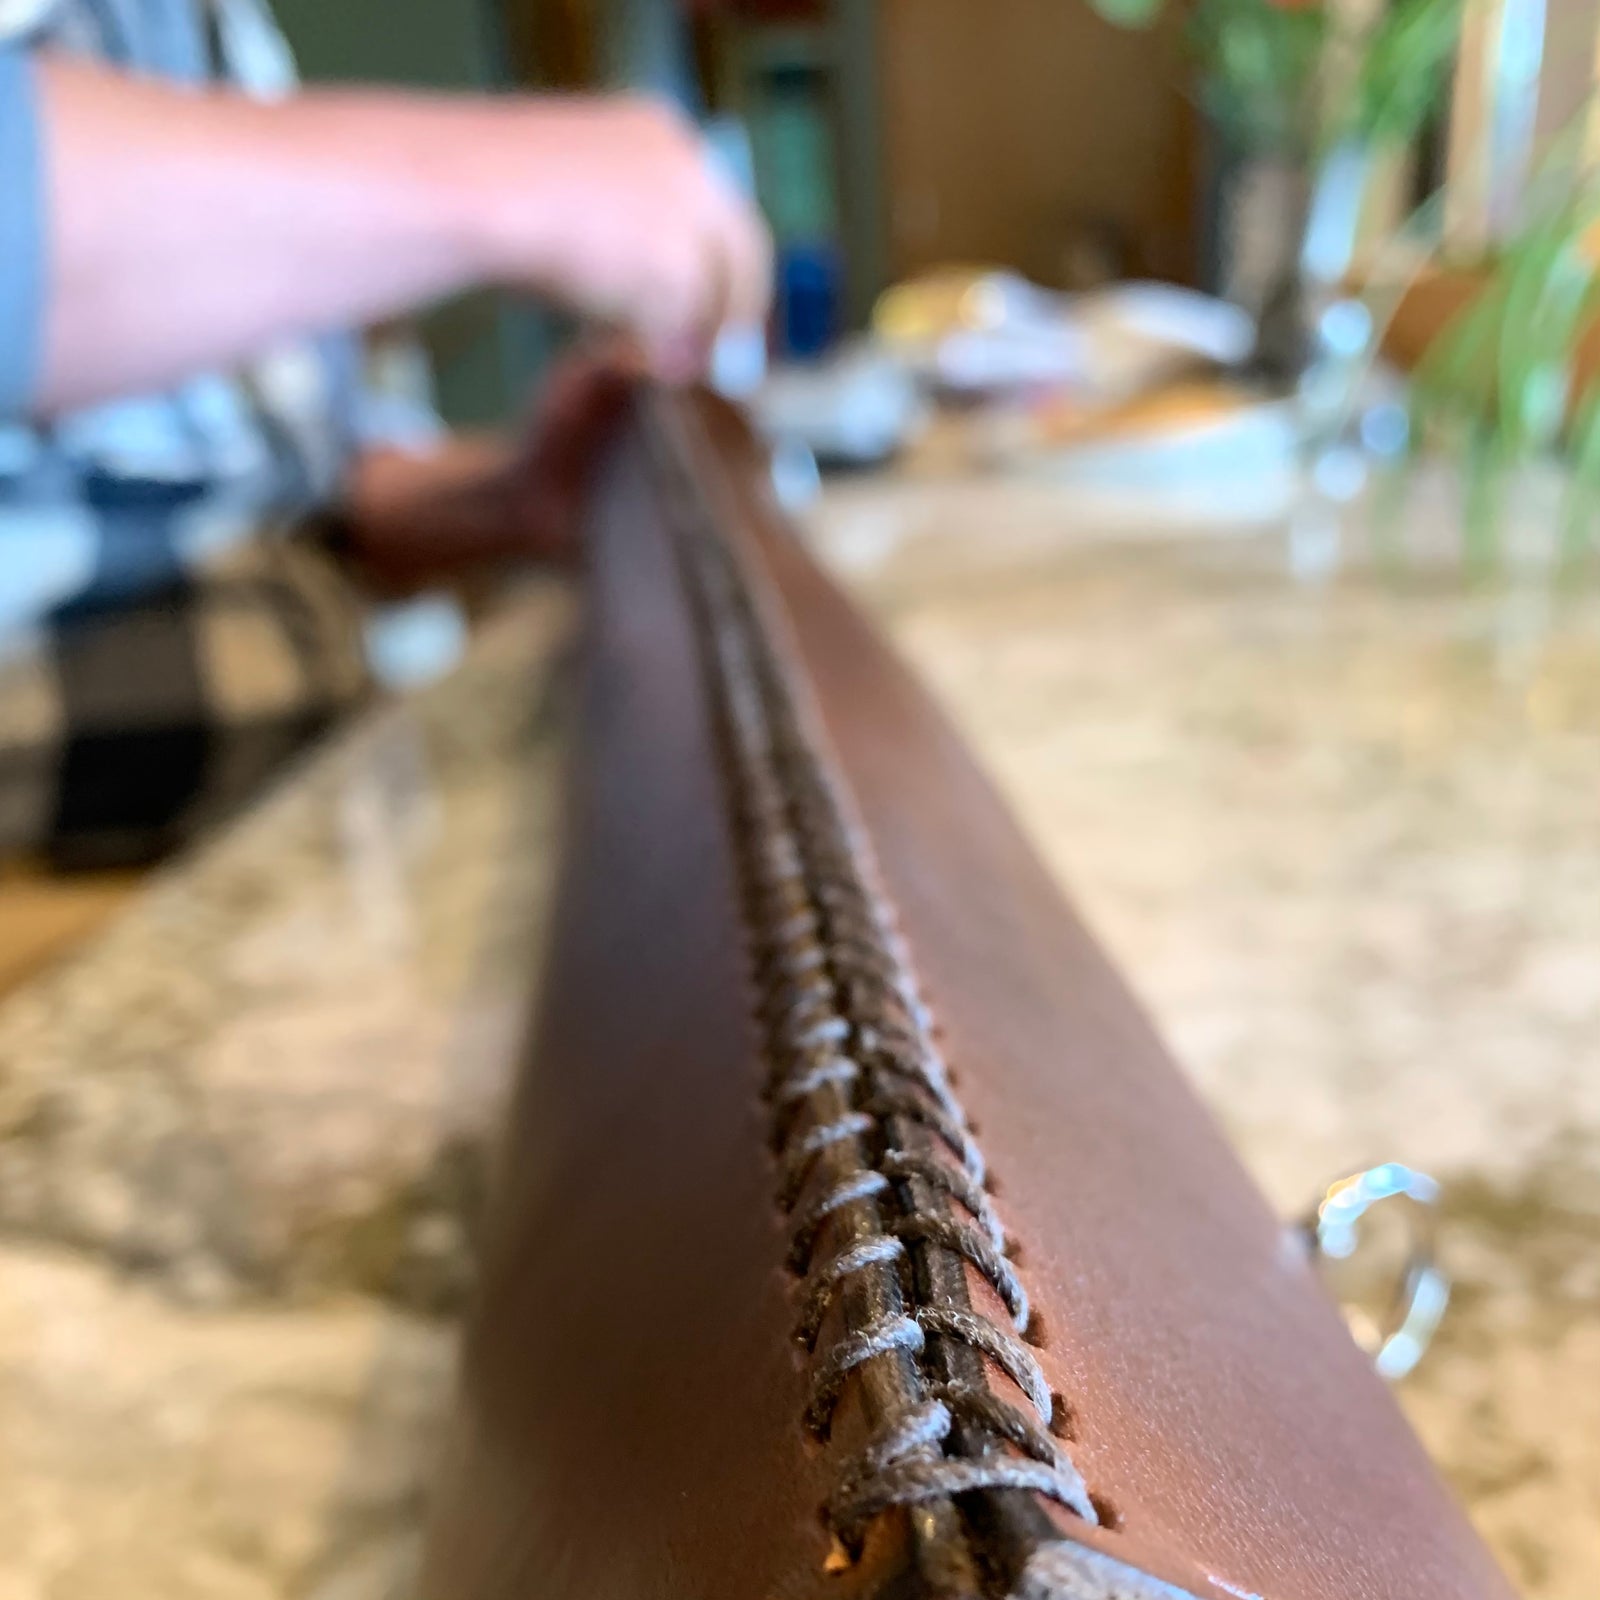
This photo from our installation video shows a typical installation. Note there is no "stepped" area of reduced diameter at the top near stem that the leather needs to lie flush against, and any gap between the bar plug at the end of the drop and the leather is minimal:

We have sewn leather onto stepped areas of a bar before, such as between lugs on a top tube, where a flush meeting point is important, and it dried into place just fine without noticeably contracting, but 1) the leather wasn't getting torqued and pulled by hands as part of normal use, and 2) we kept it lax and loose during installation.

If a gap between the leather and the handlebar ends is potentially bothersome, then there are two options:
- Cover the ends with whip-tied twine or electrical tape, or
- Read this post for our tips and tricks to minimize the gap

Skip ahead to:
Tips and Tricks for Flush Ends
What If You Already Have a Gap?
City Grips -- Customer Case Study
Sew-on Bar Wraps -- Customer Case Study
Tips and Tricks for Flush Ends
If it's important that the ends of the wraps are both left clean and uncovered, and that they are "flush" with no gaps at the ends, then it takes a little extra attention during installation to make sure the edges don't shrink back during drying.
Keep in mind that although there are tips and tricks we offer to help minimize contraction, leather is a natural material and each piece has unique qualities. Thinner Sew-on Leather Bar Wraps are stretchier, and more prone to contraction, than thicker leather City Grips or Bare Knuckle Grips. "Precise" installation limits can vary by the installer.
These are our basic tips to minimize the shrinkage during installation:
- Don't try to stretch the lengthwise when installing, because when it dries it will contract back to its natural form ever-so-slightly.
- Use the double-sided tape we include on the back of the wraps, and be sure to clean the bars with alcohol to remove any grease which would prevent the tape from sticking.
- Once you've finished stitching, it can be so tempting to cut the leather ends right away and be done with the installation. But if you can let the leather fully dry before cutting the ends, it will almost eliminate the danger of lengthwise contraction.
For persnickety, precise applications:
- If you are particularly worried about holding it in place and don't mind it being difficult to remove later, you may consider using rubber cement adjacent to the step on your handlebars. Rubber cement will help hold it in place where it was stitched on.
- Try anchoring it down at both ends with electrical tape, while drying.
What If You Already Have a Gap?
If you have already installed your wraps and have a bothersome gap, you have two options:
- If there's enough bar wraps length left, you can simply uninstall and re-install, cutting the thread and following the tips and tricks above.
- If the bar wraps were cut short into place and there is no longer enough length to cover your bars without a gap, then the gap will need to be covered.
To cover a shrinkage gap, we have two ideas for you:
- The old-fashioned and material-appropriate solution is to wrap hemp/jute twine over the area ("whip tying") - traditionally you would cover it with shellac but I find that watered-down Elmer's glue dries clear and waterproofs and bonds the threads together.
- Traditionally, electrical tape is used to secure bar tape, in this case you might want to have fun with it: for example, choose colored electrical tape, cut it into thin strips and add some detail, like a contrast pinstripe.
Case Study: City Grips
City Grips are made from a special thick leather that resists stretching, so unattended gaps should be quite small, 1/8" or less.
Customer Ed wrote us after his City Grips installation:
I installed the Sew-on City Grips on my vintage 1971 Raleigh International “City Bikeâ€. The grips are a great compliment to the Brooks saddle. In addition, at your recommendation I added Berthoud End Caps. In all it makes for an elegant combination. [pictures below]
But there’s a problem, note the 3rd image. The first two images were taken while the grips were wet and just installed. The third was after they had dried.
If I had been aware that the grips were going to shrink as they did, I would have installed them with the end of the leather 1/16†of an inch, or so, over the end of the handlebar.
You should update your instructions to include to include the shrinkage factor.
Thanks again for a unique and attractive product.
- Customer Ed
Ed had a novel troubleshooting approach would be a good interim step, to trim the leather a little bit but less than needed while wet for interim use. Then when it's fully dry, do a final trim. It's hard to know if or how much the leather will contract while it's still wet, so there's no rule of thumb for leaving say, an extra 1/16" inch of length.


Case Study: Sew-on Bar Wraps
Sew-on Bar Wraps use a thinner leather than the City Grips or Bare Knuckle Grips (so it can bend around drop bars), and the thinner leather tends to have more shrinkage.
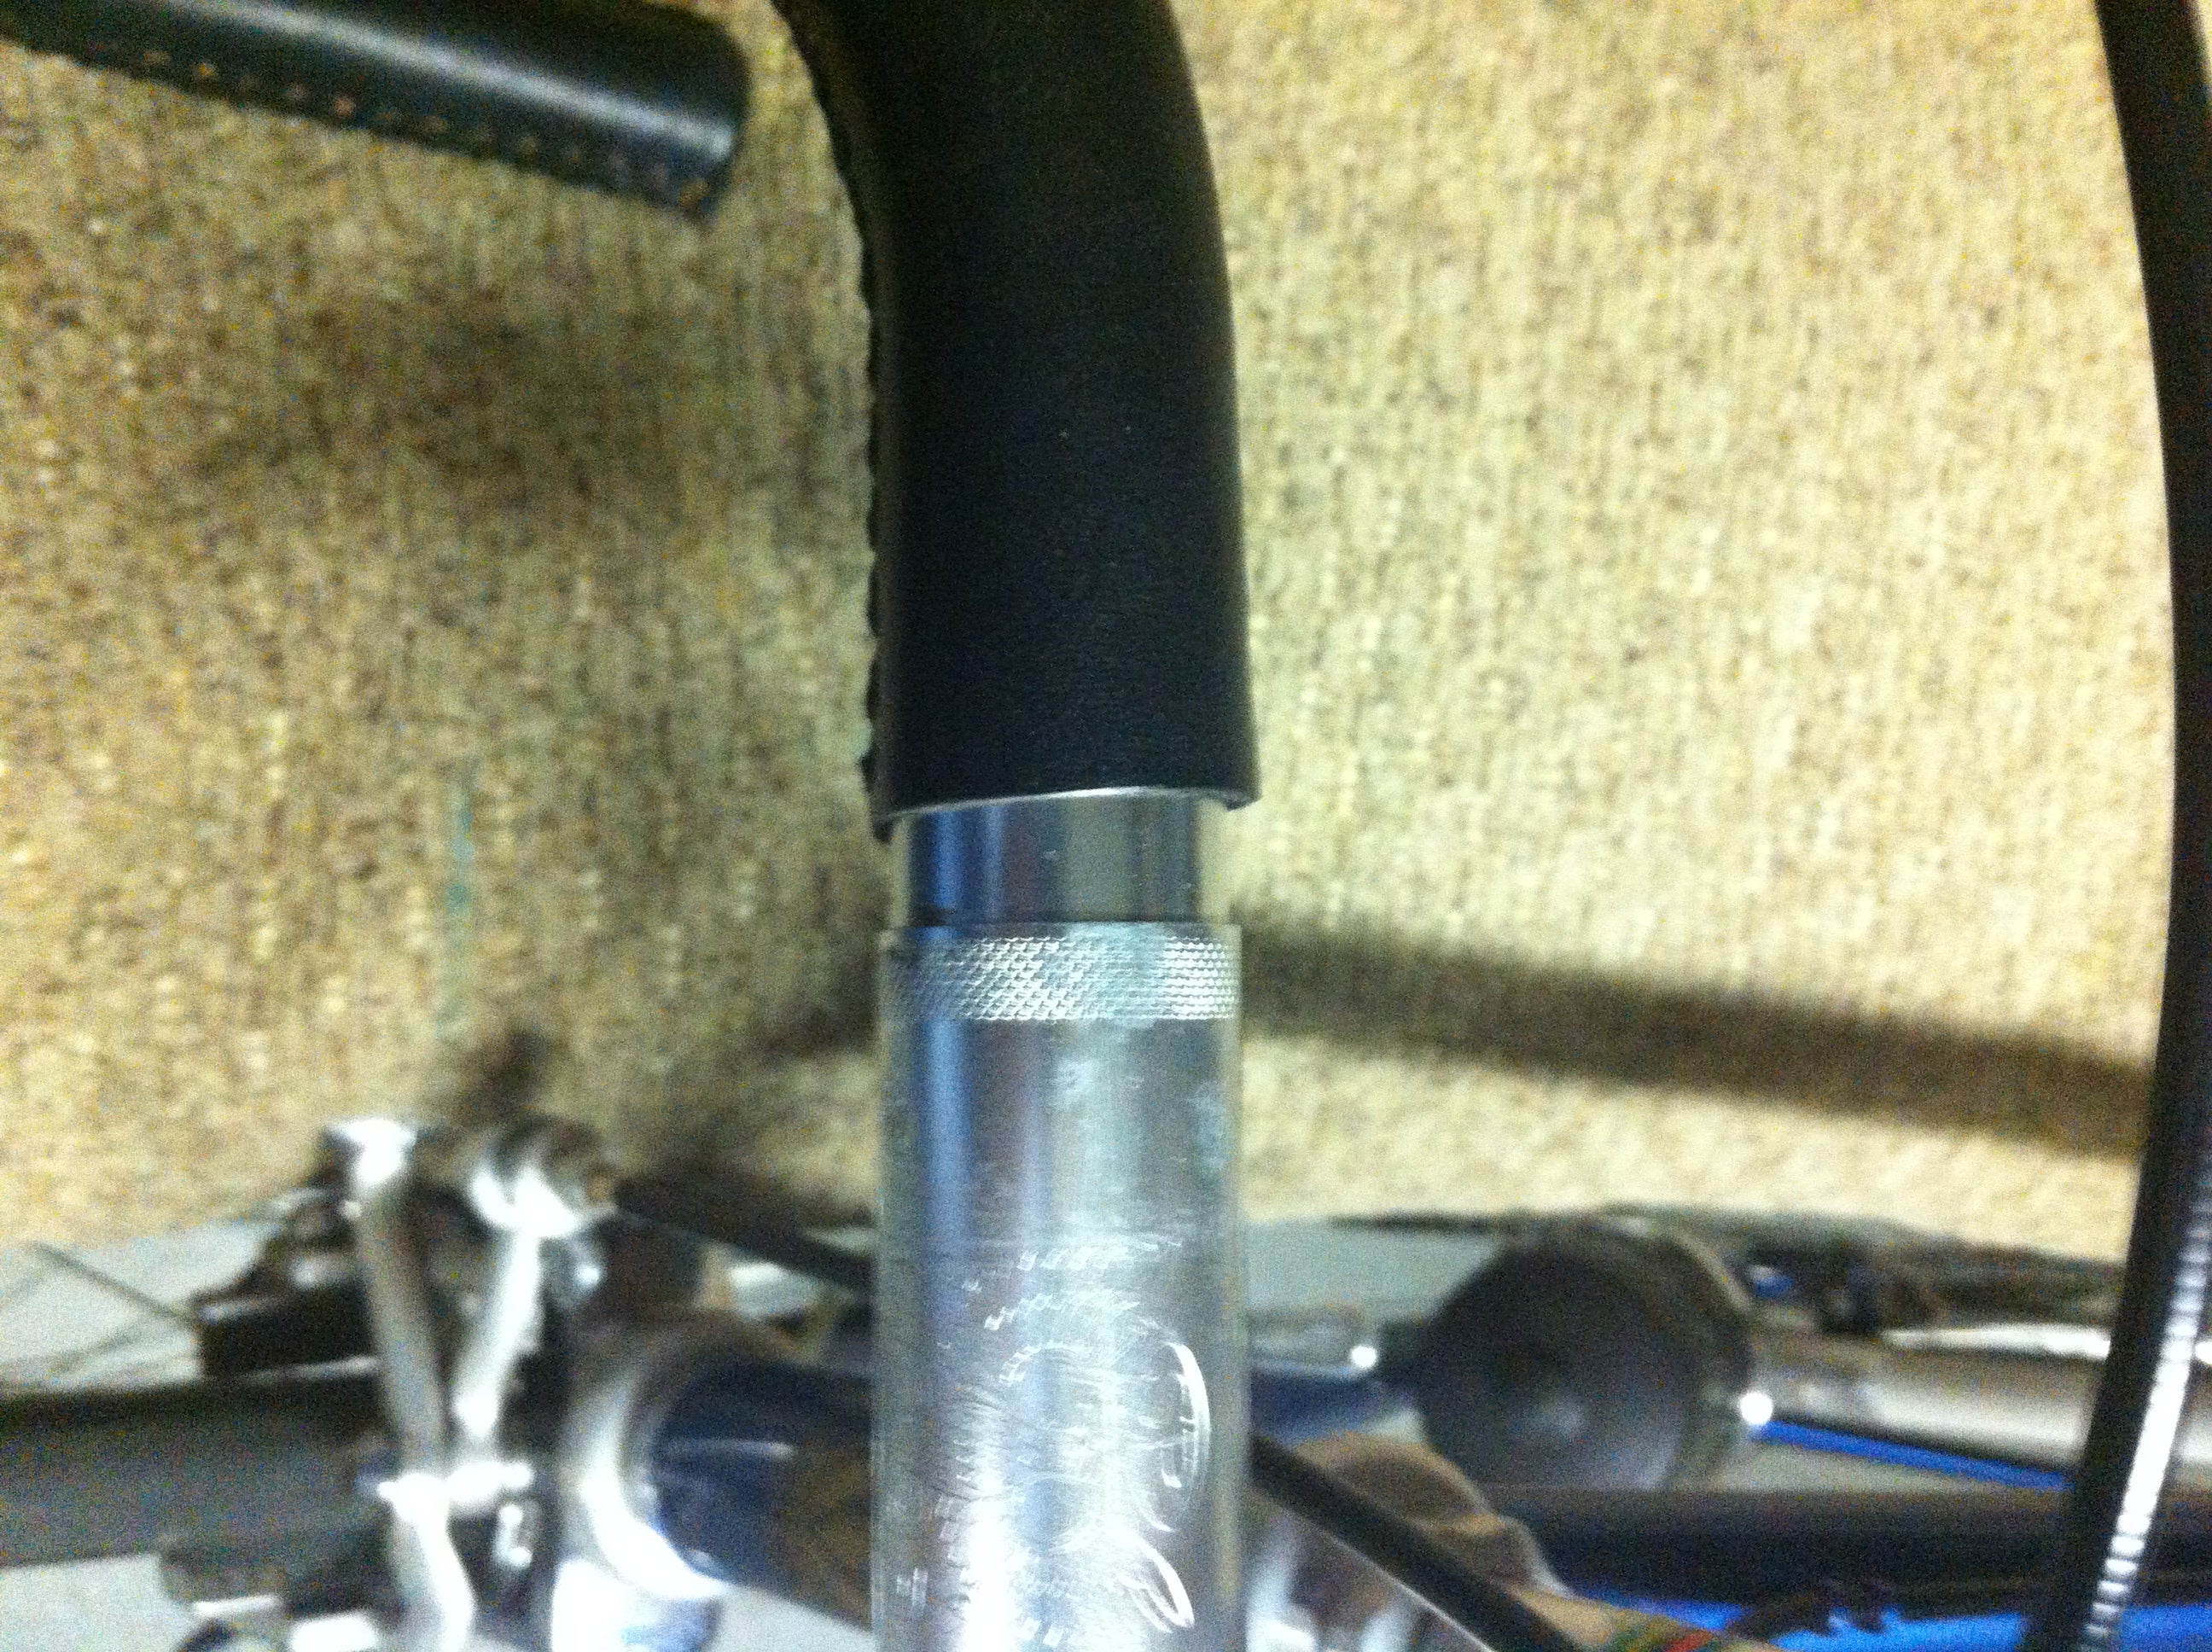
An alert customer wrote to us after installing his sew-on bar wraps. After about a week or so of use, he noticed that the leather had contracted more substantially. It was particularly bothersome in this case because he had an inset near the stem.
For this customer, because he had cut it to length, reducing the overall length of the wrap, the only option was to cover up the gap with a whip tie or electrical tape.Here are his pictures:







Leave a comment (all fields required)